
Washi Board Tools
Hey teaching friends! Today I was feeling a bit crafty and I was thinking of the good ole plain whiteboard that most likely takes up a big chunk of your classroom!
Maybe even some of you still have blackboards? Either way, why not spiff them up a little for next school year?
All items use washi tape, which is a bit like patterned masking tape that you can find in a craft store, a small selection is usually available in a big box store, and can definitely be bought at DowntownTape.com (where mine is from).
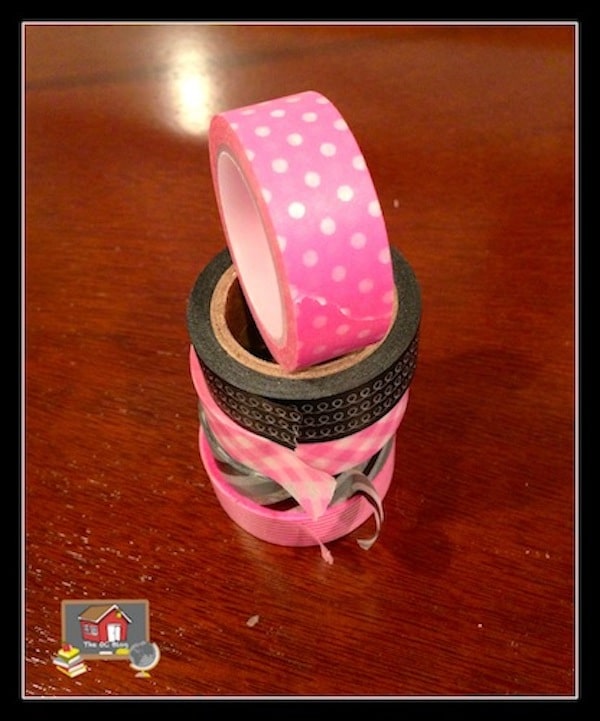
I created 3 fun projects today in about 15 minutes: a homework frame border, a pointer stick, and a marker/eraser container! Check out how to make your own and choose colors to match your classroom theme below!
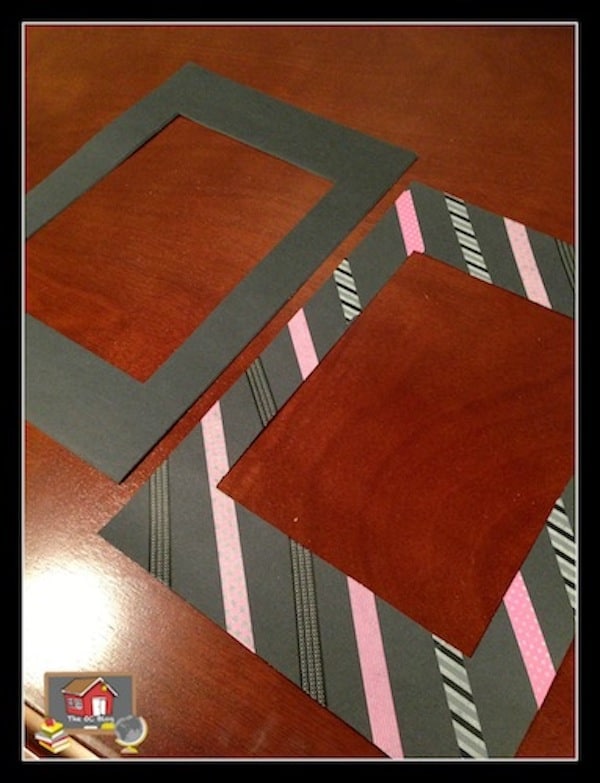
Decorated Frame Border
The homework frame border is fun because you can create as many as you need for various subjects or other ideas. For instance, maybe you want to have the countdown number for how many days of school are left – toss up a frame and use your expo marker to add the current days remaining!
Or line the frames vertically along the far side of your board and write homework in for different subject areas.
Maybe highlight an exemplary assignment or a star student? The sky is the limit!
How to make:
1. Grab a photo frame matte in your choice of colors and sizes. Personally, I like the 10″x13″ size because it gives you plenty of room to write in the middle.
2. Use any patterns of washi tape to decorate.
3. Place magnet on each of the corners on the backside of your frame and place on your board!
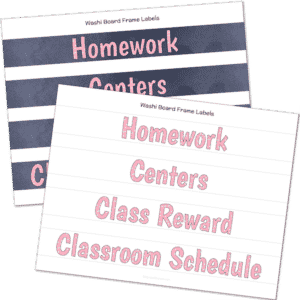
Need some title labels? I have a free download below for you!
You might want to check out:
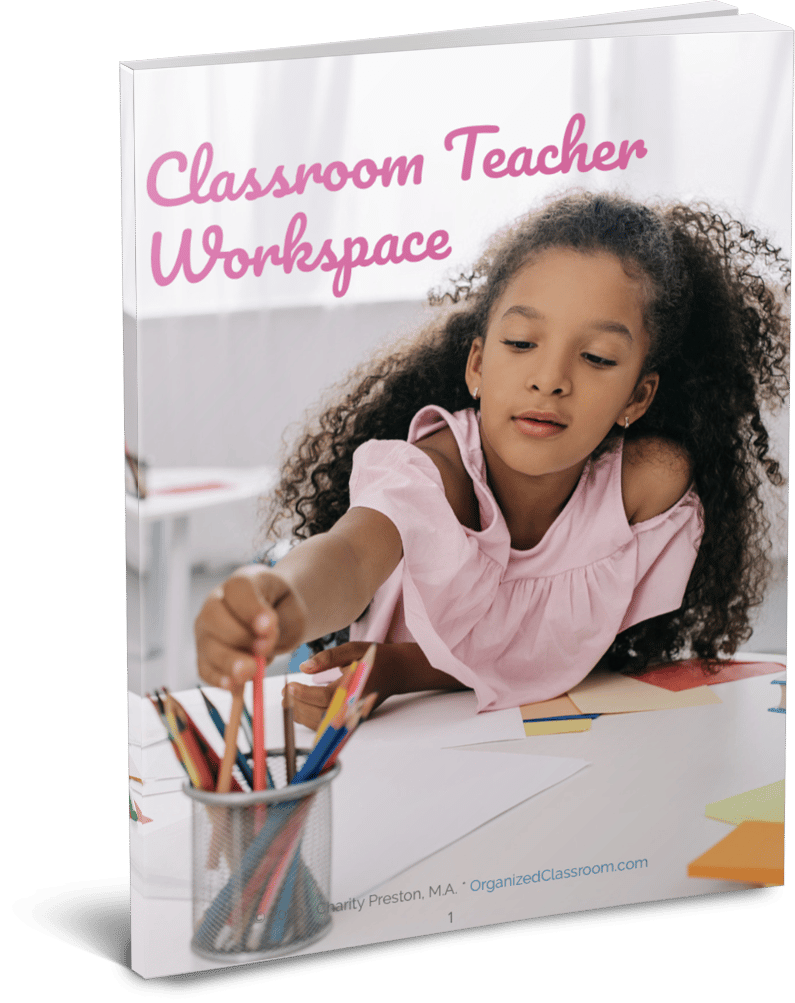
Need some new ideas for organizing your classroom environment? This 108 page digital book has you covered!
Includes 16 ad-free articles from Organized Classroom, including topics such as:
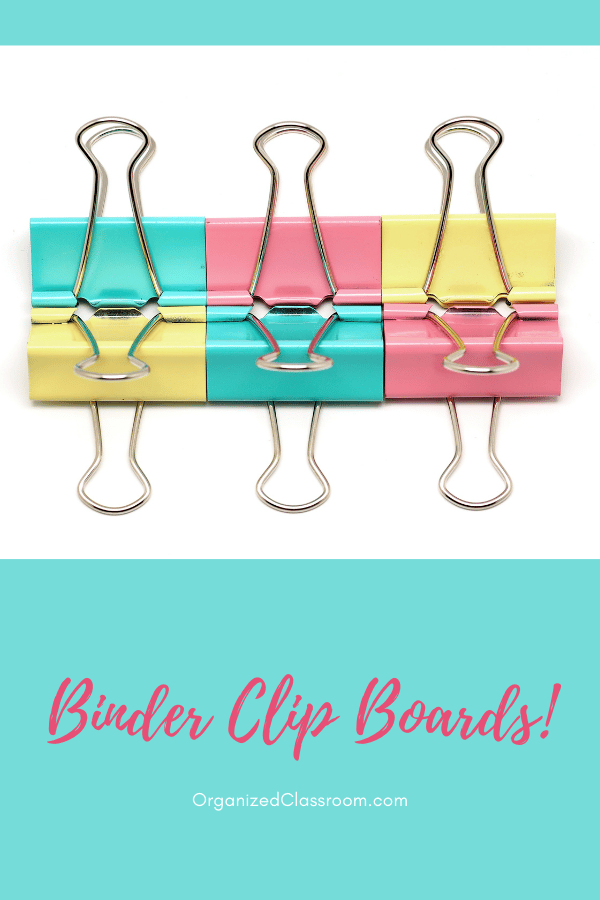
- Easy DIY Projects for Making Mundane Office Supplies Cute Again
- New Ways to Use Old Supplies
- A Quick Tech Tutorial that Will Save You Money on Classroom Decor
- Unique Ways to Use Binder Rings
- Student Desk Straightening Tips
…and even more!
Now available in our Shop! And the second copy to share with a friend is half price!
Decorated Pointer Stick
Next up was my fun pointer stick! We just happened to have one of those winter snow yard-thingees you place along your driveway in the winter so you can still find your driveway when there is a ton of snow on the ground.
Not sure what the exact name is, but that is pretty much as technical as I get – lol!
I noticed that there were a few hanging out in the corner of the garage and since it is now almost June, I didn’t think the hubby would mind if I “borrowed” it. Ha!

How to make:
1. Take a long snow-driveway stick thingee or even a thin wooden dowel and add one piece of tape to the end.
2. Keep wrapping the tape around the pole while turning the stick (as opposed to trying to wrap the tape around). Much easier to just turn the pole itself.
3. Add a second – or even third or fourth – color of tape.
4. Optional: Grab some Christmas tinsel or kids’ bike handle bar tinsel and place under the tape on the end. Use some tape to secure in place. It adds a little flair to the end of your pointer.
5. Store your pointer right along the chalk/marker tray of the board and use (or have students use) when teaching specific concepts on the whiteboard, easel, or interactive whiteboard!
Decorative Magnetic Supply Container
Last up is the supply container that matches both of the above items! It is super simple to put together and even involves some upcycling!
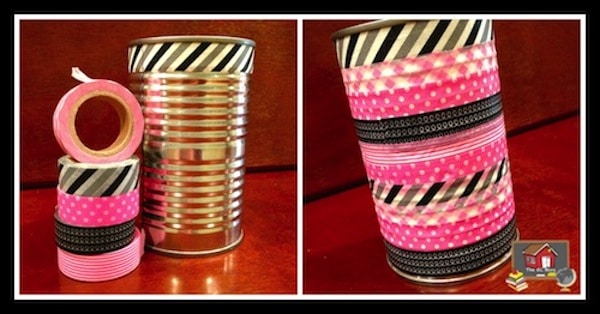
How to make:
1. Take an empty soup can that has had the label taken off, dried, and cleaned.
2. Add rows of tape in any order you choose. Optional: if you don’t like the silver can that shows through on some of the patterns of tape, feel free to spray paint your can in any color before you begin. Just make sure you give it plenty of drying time before adding the tape.
3. Hot glue a strong magnet to the back of your can and pop it right on your whiteboard! Add markers, erasers, student names on popsicle sticks (easy grouping), or anything else you tend to grab while you are near the front of the room. Simple and cute!

Hopefully you can find a way to use one or more of the ideas in your classroom and if you think you might, I would love to hear your ideas below!
Want the free board labels? Grab them here.
Have a great rest of the week friends and talk to you soon!
~Charity
One Comment