Classroom Label Creation
The video event today will show you how to create labels for all your classroom needs on a PC (if you are looking for the MAC Version, check THIS post link)!
This version shows how to create labels using Microsoft Word – PC Version. It is basically the same as the Mac Version, just looks a little different. You might want to watch both videos for ideas mentioned on both and adapt as you see fit.
Enjoy labeling and make sure to let us know how you use labels in your classroom!
As we all know, constant assessment is a regular staple in the classroom.
For me personally, I am not a fan of running records, BUT it does show how students are making improvements (or not) as the school year goes on.
One handy way I have used it labels is by making a full sheet of labels with the child’s name on them. I grab the page of labels and jot the date, along with the information I am assessing.
That might be the current fluency wpm rate, or a visual assessment of their handwriting, or even how well they are working with others.
Once my observations are complete, I peel off the label and stick it to the inside of a file folder specifically for that child, and then slide the file folder back into my files to be used when it’s report card and/or parent conference time.
It’s an easy way to really see those milestones throughout the school year and not have tiny slips of paper floating around everywhere, falling out each time you grab the file from the cabinet.

Would you like premade posters to inspire your students?
This pack of 25 colorful watercolor posters includes quotes from famous athletes.
Click HERE to grab them and save yourself time!
How to create label templates in Microsoft Word
Want to see exactly how to create your labels with a quick video tutorial?
Prefer to read the text notes instead?
Video Transcript:
“Hi everyone. Charity Preston here from Organized Classroom.
Welcome to our event today, how to create labels! The other day we did one with the Mac version and this time we are going to do one on a PC using Microsoft Word.
I will tell you I have a pretty old version of Microsoft word. I believe it’s 2003. Only because I am a Mac user so I rarely use this computer at all, but I still wanted to show some of you who have PCs at school or at home, how to do it on a PC.
It’s pretty much the same thing. It just looks a little different in a couple of different places and depending on which version you have of Microsoft Word, it may also look different on that one as well. But just a little bit, so you should be able to find your way around.
All right, we went ahead and open up Microsoft Word just to a blank document document one. We’re going to go to the same place we did last time.
We go to tools and we’re going to go right down here to letters and mailings. Click on envelopes and labels, okay, and here is our labels tab.
When it opens, that’ll probably be under the envelopes tab. Just click on it to get to the labels tab.
Now we’ve got a few different choices here. Print new document, cancel options, E postage properties. We are going to want a full page or the same label. If I want to change that, I would go right in here. And once again, here are all of my different product numbers and different choices that I have for my different labels.
You certainly can pick whichever one that you would like to pick, whichever size that you want to go with. I am going to go with 5160 this time. I can get up here to it. All right, five one, six O’s. And I’m going to click okay. Now, all that’s gonna do is it’s going to make sure that down here it’s going to be the type of label you want.
We are not finished at, I do not type anything in here at all. And we’re going to go to new document, click on that and check it out. Here’s a whole page of our labels, all 30 of our labels.
I like to use this sheet at the beginning of the school year for each individual student and make a whole page of just their name. And you might not want to do that until a week, week and a half into school because as you will, I’m sure know, you’re going to have students moving in, moving out, moving in, moving out.
You’re going to constantly have to be making sheets of labels and they’re not cheap. It’s not always a whole lot of fun whenever you have wasted an entire sheet of labels on one student that has since moved. You’ll have it occasionally in the middle of the year, but not so much as after the first couple of weeks.
Okay, let’s format it. I’m in my first grid here, then I go in and a bolded and I’ve got lots of lots of different fonts here I like to use, let me see if I can find it.
Nope, I’m not seeing the one that I normally use that’s just go, yeah. Oh, this looks like a fun one.
You’re welcome to format it even more if you want to bold it or you can certainly add clip art as well. You can drop it in there same as you normally would.
I don’t know if I even have any clip art to even be able to drop anything fun in there. Actually, let’s see. Let’s do some word art. This one looks like fun. You could also do this with your students’ names. Type his name in there. Oh, that one’s kind of fancy. Click okay.
Obviously that’s not exactly perfect and we would certainly want to play around with it a little bit, but that’s going to change it up there just a little bit. You can certainly play with it as much as you want. Change the names on it. Change the font. I would make a whole page of this.
Then of course you’re going to want to save it. Go ahead and save so we know whose label file it is.
That is how we create labels and Microsoft Word, the PC version. I hope you have enjoyed today’s session.
I’m so happy that you were here to join us. Please join us again for more videos. You can always find all of my videos at my YouTube channel. You can find all of my videos or just by clicking on the red bar right down here at the bottom as well. Click on that bar and that will take you to a subscribe link, which then you can get all of my videos. There are well over 50 videos at this point and I anticipate at a more weekly.
And you can also of course find more and more resources that our Facebook fan page or at our website. Look forward to seeing you there. Thanks so much and we’ll see you later. Bye.”
Other ways to use labels in the classroom
Need some other ways to use Avery labels in your classroom?
Here are just a few of the many listed here at Organized Classroom!
A handy way to label paper baskets which organize your student and professional paperwork coming in and out.
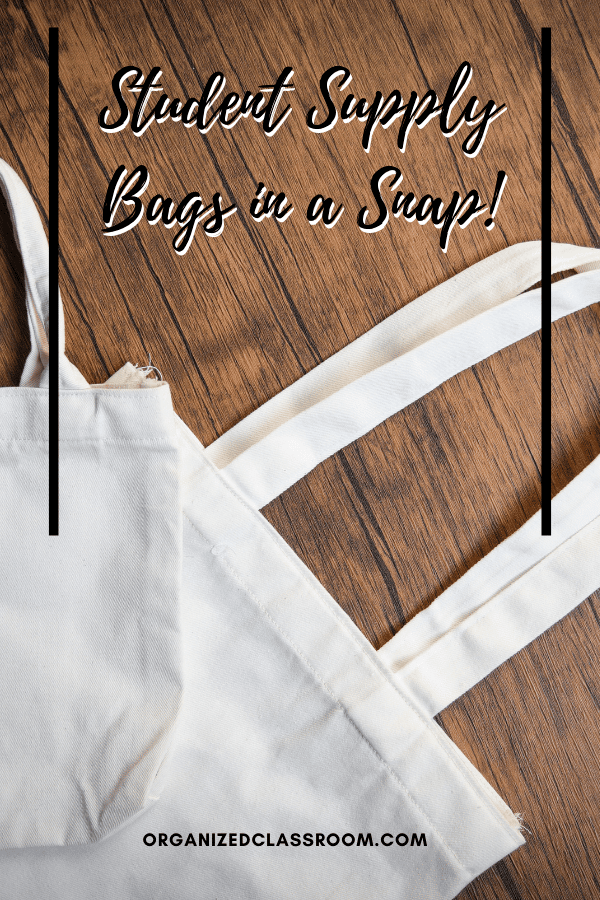
Organize your student supplies – and look cute in the process with these seasonal supply caddies.

Change out student names for mailboxes, cubbies, or lockers in a snap!

Ever think about ditching your teacher desk? Make some labels for your hanging wall supply organizer.

Make library shelf markers to help students learn how to resolve their books correctly while browsing.

Make your own centers folders for your writing class!
Organize your manipulatives to make it easy for students to get out and return when the lesson is finished!

Use labels for creating educational classroom games!

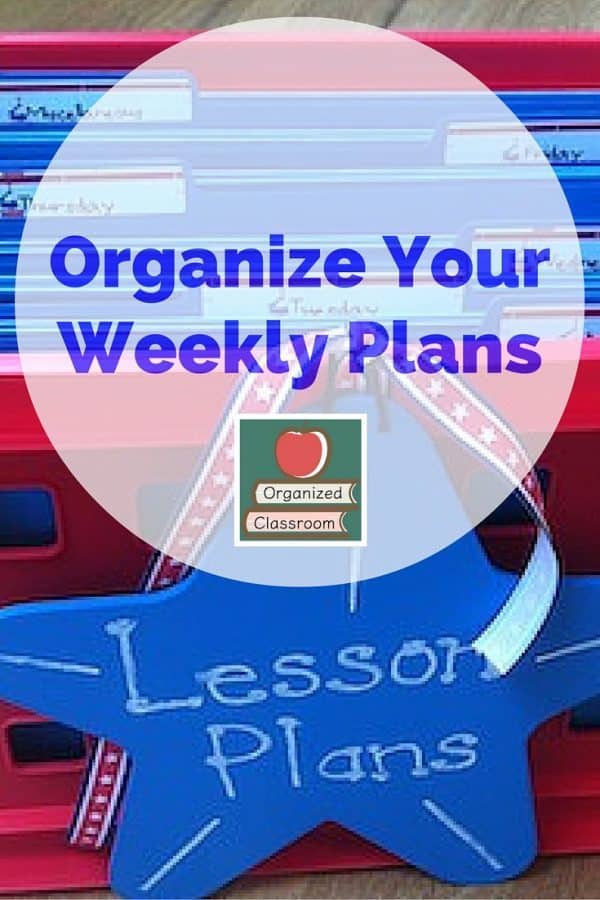
You can even organize your weekly lesson plans too!

What other ways do you utilize labels in your classroom?
We would love to hear from you in the comments below! #sharingiscaring
~Charity