
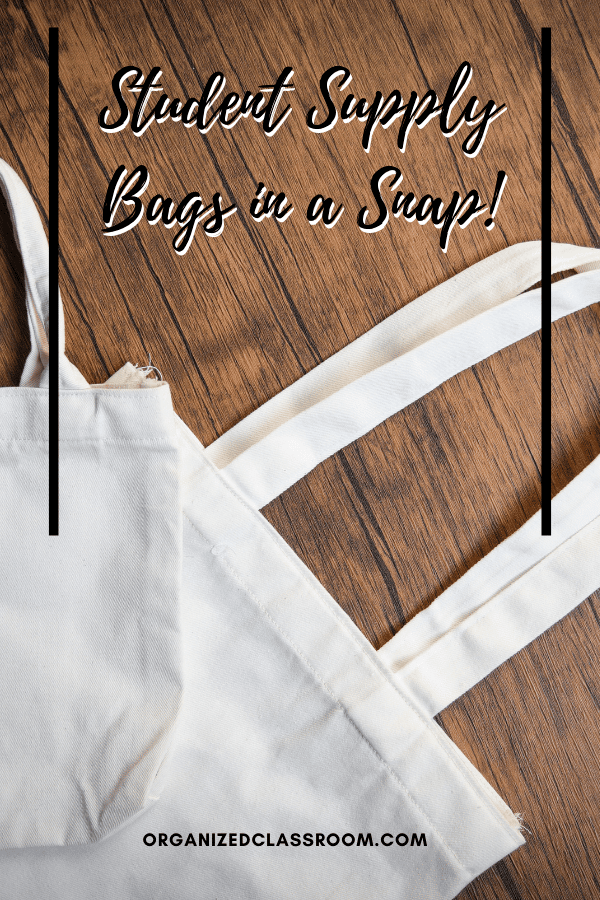
Supply Bags in a Snap!
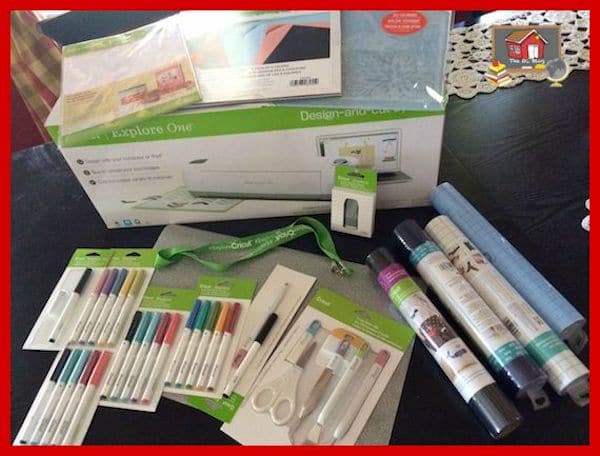
Hey teaching friends! So – I was contacted by the amazing folks over at Cricut and they sent me a fun box of goodies in the mail, including a Cricut Explore One!
Of course, I couldn’t wait to dive in and check out this awesome machine and I am blown away at how easy it is to use and all the things it can do! I haven’t even come close to scratching the surface yet!
For my first project – literally out of the box – I thought about how tough it is when students are switching teachers for classes and their supplies are all over the place, dropping folders on the floor, and more.
One school I worked at actually had a canvas bag for each child.
It made switching classes a breeze! I wanted to see if I could come up with something similar for my little man.
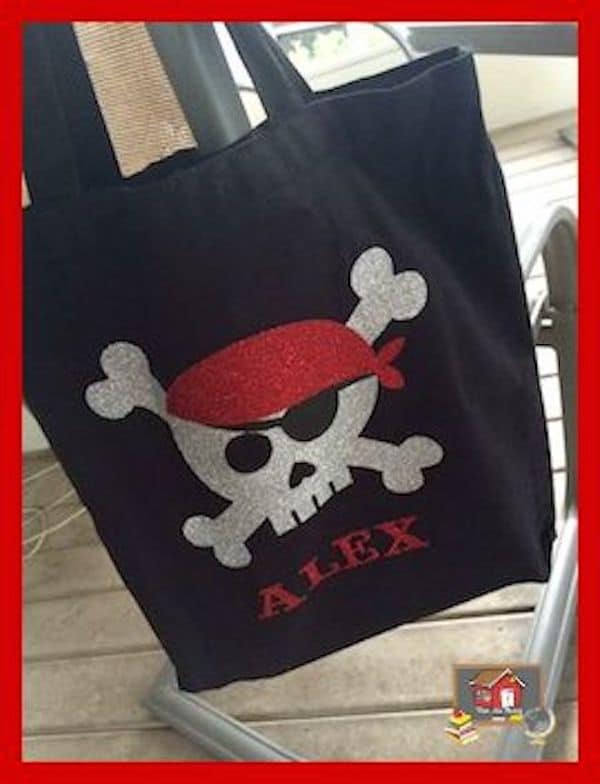
Our school mascot is a pirate, so this fantastic image from the Cricut Design Space area was a perfect match!

I am pretty proud of how it turned out – and honestly – I am not super crafty, so if I can do it, anyone can. Would you like to recreate it as well?
You will need:
-Blank canvas bag – I grabbed mine at Jo-Ann Fabrics for about $4
–Cricut Iron-On Material – I used silver sparkle, red sparkle, and plain black
-Cricut cutting machine – I have the Cricut Explore One
-Pirate Image and the Font of your choice for the lettering
Steps:
1. First, Set up your Design Space Account. From there, you can create as many projects as you like and they save them, which is super handy if you need to leave them and return later.
2. I added my Pirate image from the Design Space catalog and then printed and cut each of the pieces individually.
Don’t forget to check the box to mirror image it because it is an iron-on.
You need to make sure it it cut backwards, so when you flip it to iron-on, it is facing the right direction. {Ask me how I know this – lol}
After you cut, you “weed” out the outside portion, only leaving the part you will be ironing on.
3. Set all your pieces aside after each cut.
4. Heat up your iron. Iron your pieces where you like on the bag!
5. Put your materials inside the bag and off they go!
It really was that simple! In the Design Space program, I could click “Cut” and a page popped up telling me step-by-step what do do. Even the machine blinked the button that I need to push next! So simple!
This will be perfect for back to school and I love how the glitter looks on the bag as well. I might keep it for myself. hahahahaha!
You might want to check out:

Need some new ideas for Back to School? This 114 page digital book has you covered!
Includes 14 ad-free articles from Organized Classroom, including topics such as:
- Easy Bulletin Board Ideas
- Quick Classroom Decor
- Fundraising Hacks
- Getting Parents On Your Side Right Away
…and even more!
Now available in our Shop! And the second copy to share with a friend is half price!
Have fun crafting your own bags for switching classes – you could even include that cost in your school supply fees.
And no one will be fighting over their bag when they all look the same and have names already placed on them.
Pop them on a chair during class and they are even out of the way!
Now – what to design next? Ideas? Feel free to leave me a comment below!
Don’t have a Cricut and want to create some custom classroom bags?
I made you a set of files to do just that with iron-on transfers instead! YAY!
The file below contains 8 different images – and each comes in both color and a backline version.
All you will need are some canvas bags in the color(s) of your choice, iron-on transfer sheets, a printer, and an iron.
Since there are 8 different sayings, each teacher in your grade level could pick a different color and message. Or mix them all up randomly among your students. The choice is yours!

Happy crafting!
~Charity

One Comment