PD Paper Solutions
Hey OCB friends! I hope you are all well and having a great year thus far – I know I am!
Not that long ago on the Organized Classroom Facebook page, Pam asked the following question for us all:
“Please help me find a way to control all the paperwork from workshops/inservice. I have discussed this with other teachers in my building and they don’t have a solution either. I want to use the material and either can’t find it or find it when it is too late. Please help!?!”
So, I have compiled all the answers from fellow teachers that were posted, and have even added an idea myself at the bottom, so make sure you read them all. Thanks to all who submitted an idea – you all have wonderful ideas and I love when we collaborate.
- “I have a hanging file folder tub, and I label each hanging file with the topic of the trainging- ie Reading, Writing, Math, etc.. I haven’t needed to go to subtopics yet…- And I put the papers into those hanging folders so I can find it easily later on.” -Christina
- “I put mine in a binder labeled by years.” -Kayla
- “I also use a binder for each year.” -Christal
- “I scan mine into folders and make duplicates for each category I might need it. For example, a training on using primary sources in SS, would be found in SS folder, reading, writing DBQ’s folder, and.whatever topic the examples cover. I find it takes up less room than having a hard copy in all those folders.” -Bethany
- “Scan, save to file by topic, and toss the paper copies.” -Kacie
- “Use binders and label subjects and years, grade. File in your file cabinet/use color codes also.” -Lavata
- “I am the binder queen. Whatever subject I think it pertains to, I put it there. If it will go for more, I copy it and put it in that binder.” -Karen
- “Same as alot of other people, I file them in a binder by the year it was or by topic. Also, I put the date at the top of each handout/paper in case it’s not already on there that I get from workshop. In our parish, every teacher is required to turn in a Professional Development binder at end of every school year that contains documentation that we have attended or participated in 3 professional developments and we are also required to put 4 ‘follow-ups’ for EACH pro dev. (showing how we used it or applied each pro dev in our teaching or classroom) So each time I attend a pro dev, and get all those papers and handouts, I date it and put it in that binder for THAT year. The next year, I pull out the papers, and start all over again.” -Pam
- “I’ve used file folders, binders, and now I’ve started content tubs. I never thought about scanning to the computer! I’ll have to consider that.” -Shibahn
- “I scan it, make a file for that workshop, then put all workshops in folders by topic.” -Kateri
- “I use binders too… But if it’s something I want at my fingertips I take a pic and save it in Evernote … That app rocks” -Heidi
- “I keep my workshop info in a hanging file folder arranged by topic.” -Beth
- “Pitch it – by the time you get around to looking at it again, times will have changed!” -Tracy
You might want to check out:
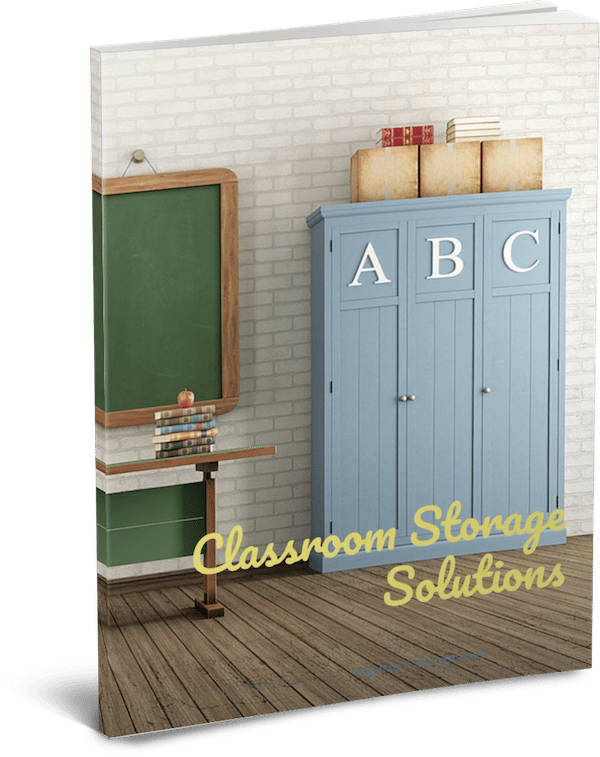
Need some new ideas for organizing your classroom storage? This 83 page digital book has you covered!
Includes 13 ad-free articles from Organized Classroom, including topics such as:
- Student Cubbies
- File Folder Game Organization
- What to do with old office furniture to maximize your storage
- Ideas for Student Headphone Storage
…and even more!
Now available in our Shop! And the second copy to share with a friend is half price!
Running with Tracy’s idea above, I would have to agree that in the course of one school year (and even more if you count the summer trainings, grad classes, and blog stalking), you will see so many neat ideas you would love to implement, but just won’t be able to fit in.
But trying new things in your classroom and reflecting on how it worked not only makes you a better teacher, it also really keeps your students on their toes and motivated to see what you might come up with next!
I adore the ideas above for those who want to go paperless: scan or take a snapshot of the notes/handouts and file them accordingly into folders.
My only caveat with that would be by the end of the year I would have a full jump drive and still haven’t tried all those awesome ideas.
My suggestion is to keep only those ideas you really think you will have time to try and that will work with the current group of kids you have (we all know some years won’t lend itself to some ideas out there).
If it won’t work THIS YEAR or will be too much for you personally to implement, recycle it or pass along to someone who might like it. {Perhaps even drop into teachers’ mailboxes that you think it might be a good fit for along with a post-it explaining why you are passing it on. They might be pleasantly surprised to find a great new teaching idea that you passed along!}
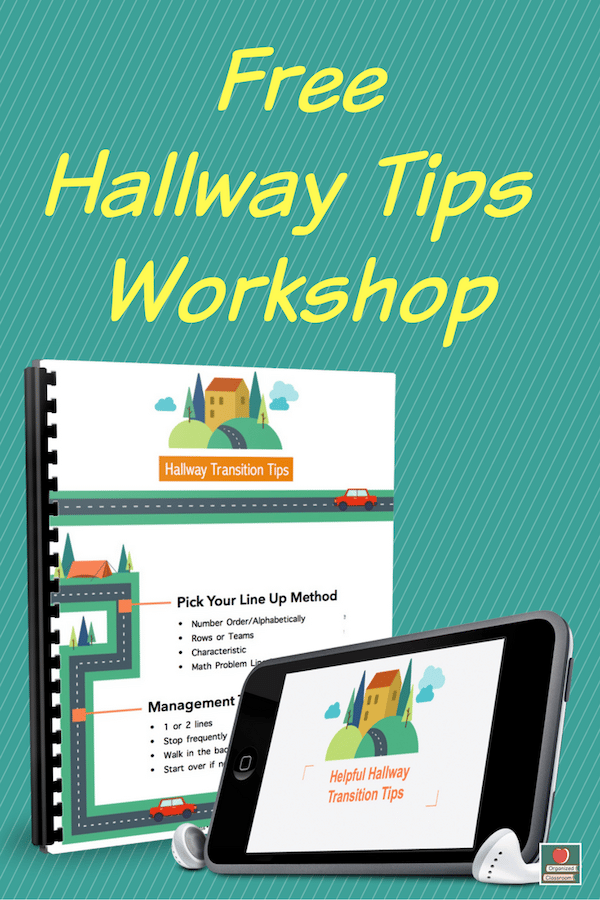
Would you like to know step-by-step routines that put teachers back in control in just 4 weeks?
Download the FREE Classroom Systems Starter Kit now!
For those ideas you do have left, you can tackle them in physical form (my preference, but I am also on old school type of teacher who needs a physical planner in my hand too – lol) or use them digitally.
If you go down the digital path: You already have them scanned and filed, but perhaps set up an alert once a month to go through a specific folder to find at least one idea to try in the coming month.
If you make an appointment to do it – and are reminded of that appointment – chances are it won’t sit there in cyberland without ever getting a second glance.
If you are similar to me and need the papers to review:
1. Grab some colorful file folders and close up each side with clear packing tape so that it makes a pocket with an opening only left at the top. {I found all of the materials I used to create these in Walmart in the clearance aisle after back to school was over, so I think I paid $3 in total for the supplies you see here.}
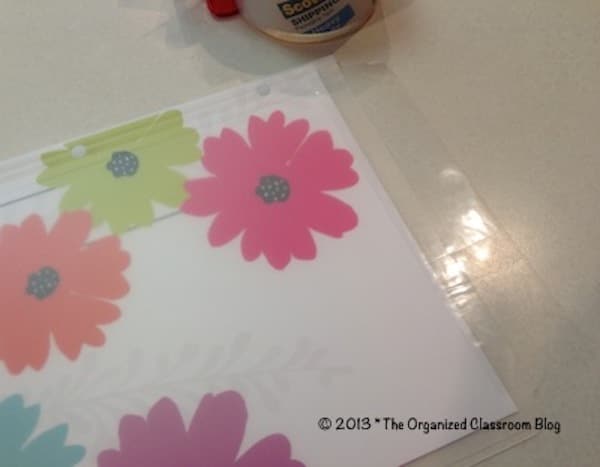
2. I also added jumbo paperclips and paper labels so they could be easily changed.
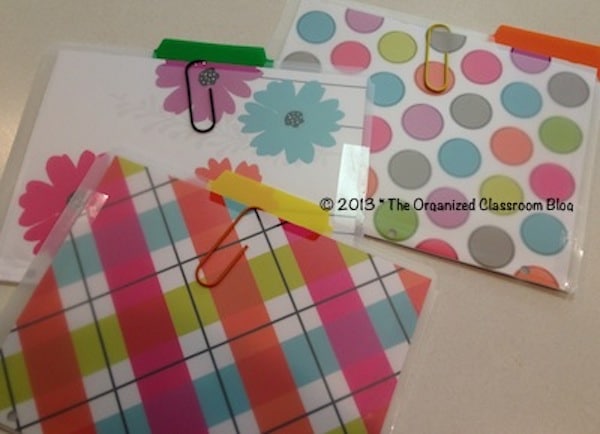
(I hate having file folder labels that I can’t change).
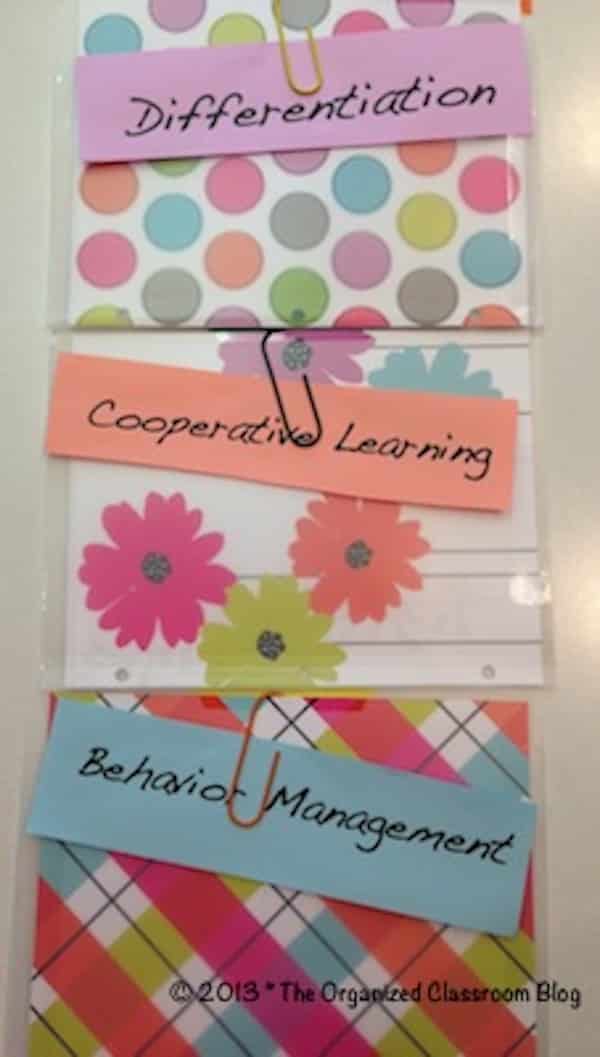
3. Secure them to the INSIDE of a cabinet, wardrobe closet door, side of a desk, or on the back of a supply door.
Of course, if you don’t have a spot to hide them (I prefer them inside only because they won’t make the room look cluttered), you could place them in a wire rack on a desk or shelf.
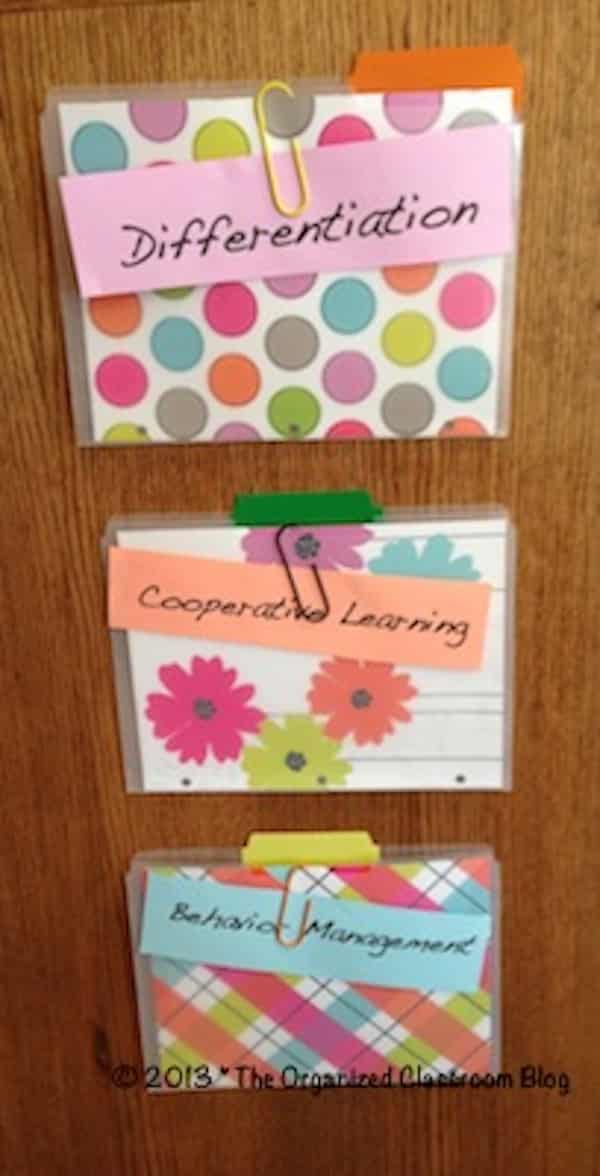
4. Place your papers inside the file folders accordingly.
5. Once a month, same as above, jot a note in your lesson plans to grab one of the ideas from one of the files to try.

6. At the end of the year, take a final look at what is still there and only keep those ideas you KNOW you will want to implement in the next school year.
If you are unsure, then let it go. Recycle any remaining papers and start with empty folders for the next school year. Guaranteed they will fill up again with a ton of new ideas.
Enjoy trying new ideas, yet also feeling like you are being proactive in organizing and implementation of them too!
~Charity