3 BTS Binder Ideas
Organization is a crucial skill for students to develop, as it helps them stay on top of their schoolwork and manage their time effectively.
One way to make organization more fun and engaging is by personalizing your school binder covers.
By adding your own personal touch to your binders, you can make them unique and reflect your personality and interests.
This not only makes organization more enjoyable, but it also helps you easily identify your binders and stay organized throughout the school year.
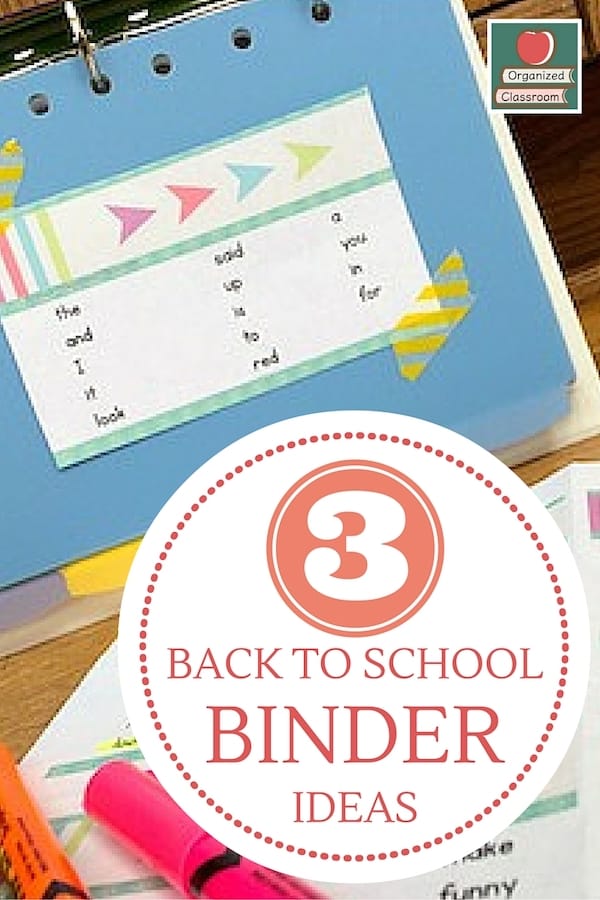
5 Creative Ways to Personalize Your School Binder Covers
- Using stickers and decals: One of the easiest ways to personalize your school binder covers is by using stickers and decals. You can find a wide variety of stickers and decals in stores or online, ranging from cute animals to inspirational quotes. Simply choose the ones that resonate with you and stick them onto your binder covers. This is a quick and easy way to add some personality to your binders.
- Creating a collage of favorite photos or quotes: Another creative way to personalize your school binder covers is by creating a collage of your favorite photos or quotes. You can print out pictures of your friends, family, or pets, and arrange them on your binder covers. Alternatively, you can cut out inspiring quotes from magazines or print them out and glue them onto your binders. This not only adds a personal touch to your binders but also serves as a source of motivation and inspiration.
- Painting or drawing designs: If you enjoy painting or drawing, why not use your artistic skills to personalize your school binder covers? You can use acrylic paints or markers to create unique designs on your binders. Whether it’s a colorful abstract pattern or a detailed illustration, painting or drawing on your binder covers allows you to showcase your creativity and make your binders truly one-of-a-kind.
- Using washi tape or ribbon to add texture and color: Washi tape and ribbon are versatile materials that can add texture and color to your school binder covers. You can use washi tape to create borders, patterns, or even write your name on your binders. Ribbon can be tied around the spine of your binders to add a pop of color. These materials are easy to use and can be found in a wide variety of colors and patterns, allowing you to customize your binders to your liking.
- Printing out custom designs or patterns: If you have access to a printer, you can print out custom designs or patterns to personalize your school binder covers. There are many websites and online platforms that offer free printable designs and patterns that you can use. Whether it’s a floral pattern, a geometric design, or a custom artwork, printing out these designs and attaching them to your binders is a simple yet effective way to personalize them.
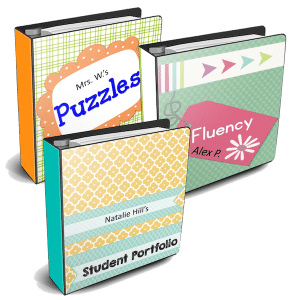
Binder Cover Templates to Print
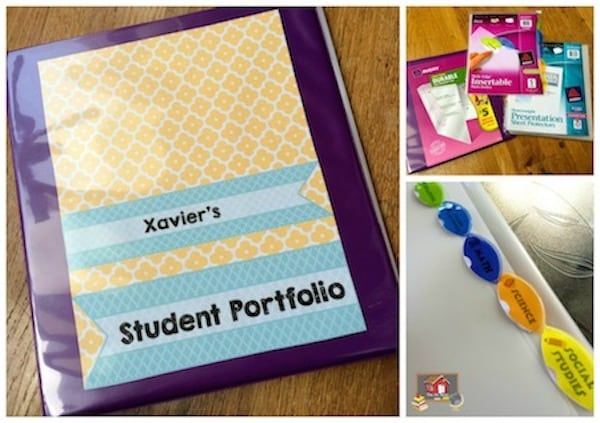
Student Portfolio Cover
I started with a binder, tossed in some Heavyweight Presentation Sheet Protectors, and placed some Insertable Dividers in between the sheet protectors.
I loved being able to design my divider tabs on their website as well! I added some fun little clip art, a cute font, and spaced it just how I liked before finally printing right on the tabs from my home printer and inserting into the tab slots. Perfect!
Need a quick idea (or 18!) for a Back to School board? I’ve got you covered!
18 files in one spot!
Each includes directions, premade printable title letters, borders, and student name accents. You simply need a student roster and a printer. Easy and lots of choices!
Includes: Legos, shamrocks, writing, cookies, Tootsie Rolls, dogs, space, sunglasses, fish, gummy bears, buckets, rulers, calculators, owls, wild animals, bees, dinosaurs, and candy themes!
How to use: At the beginning of the year, have students choose about 5-6 pieces of work they are most proud of from each subject and place in the sheet protectors.
As the grading quarter continues, students may replace one page for another if they feel it is a better representation of his or her work. All other work gets sent home after grading is complete.
When parent conferences roll around, students are them able to grab his or her binder and explain each piece or work inside to the parent and why that particular work made the cut.
It is a wonderful way to hold students accountable and have them take an active role in assessment as well.
Puzzle Organization Cover
Do you want to pull your hair out when you find random puzzle pieces everywhere in your classroom? Organize them in a binder! Yay!
Grab a strong binder first – I have never seen these before and they are pretty much indestructable. {And we KNOW how students are around supplies – ha.}
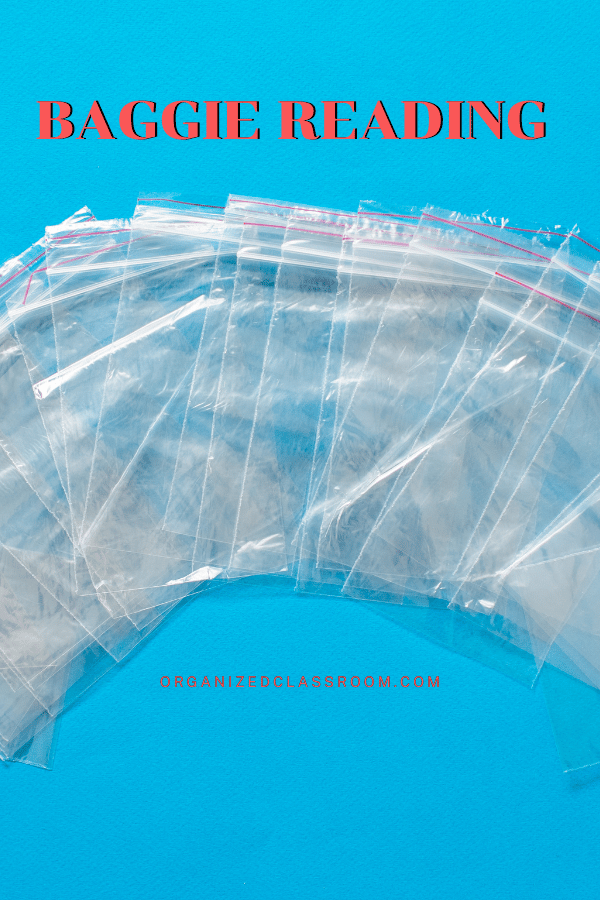
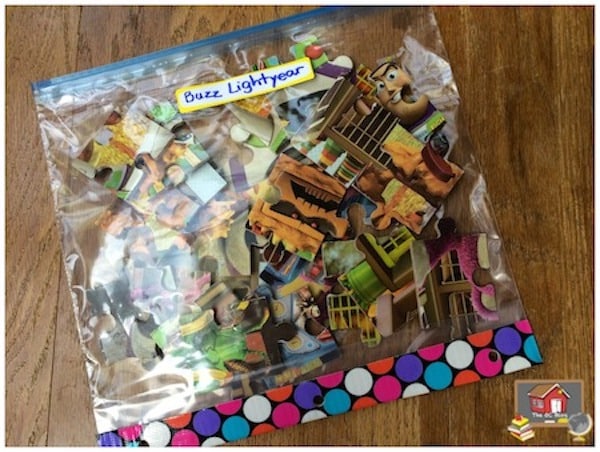
Next, use some duct tape and place on the bottom of a large gallon sized zipper baggie. Hole punch it across the tape.
Use some Marks-A-Lot Permanent Markers and the Avery Kids Writeable Labels to write the name of the puzzle and slap the label on the baggie.
Place your puzzle pieces inside.
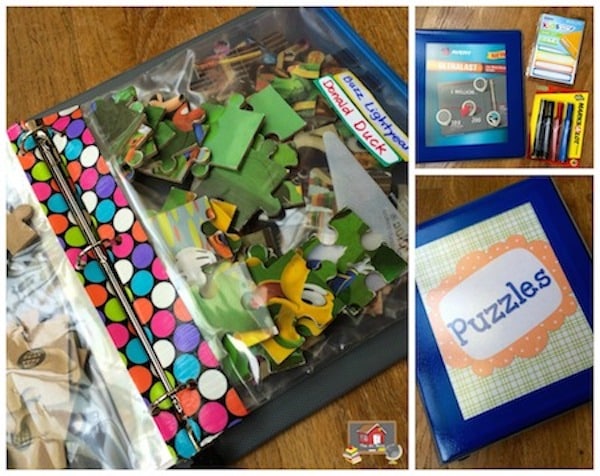
Stash all the baggies into your binder and place on a bookshelf! Score on the classroom organization!
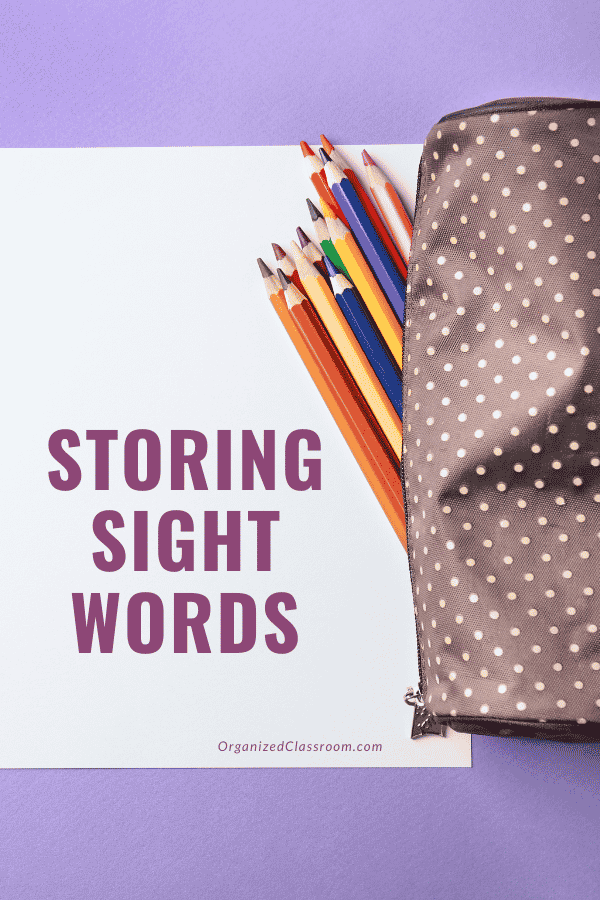
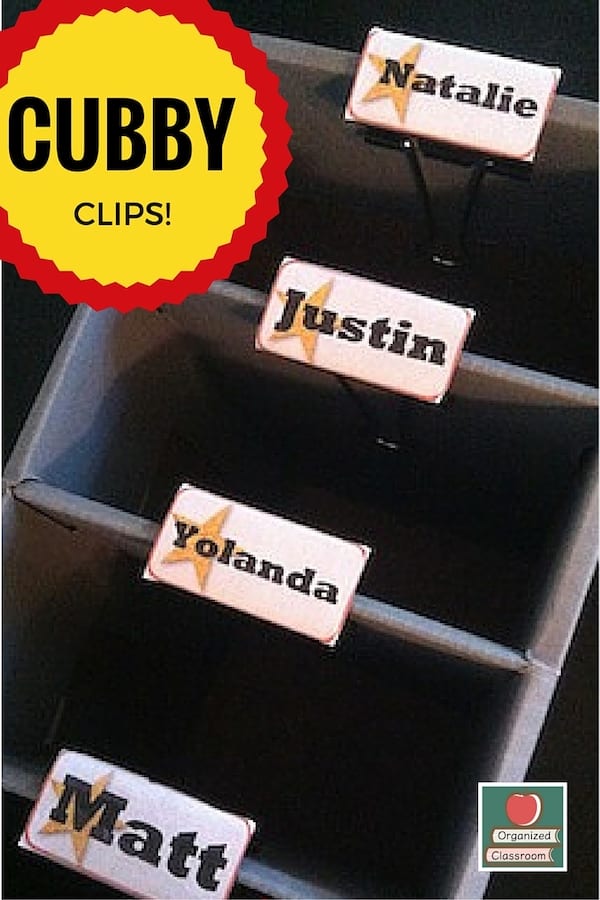
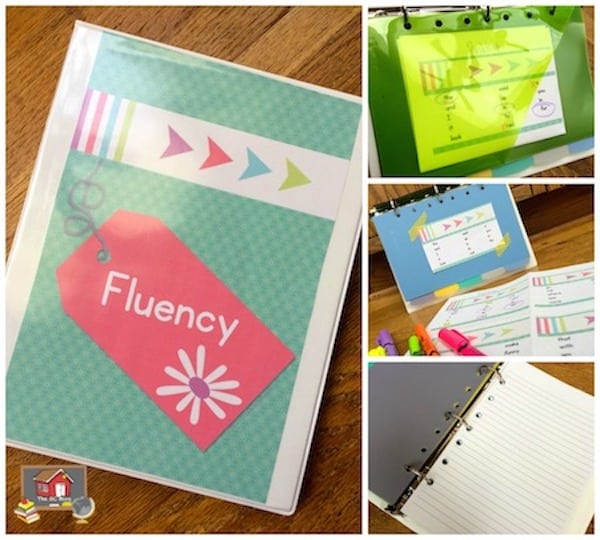
Fluency Binder Cover
The last fun project I have to share is actually using a small 1 inch binder that fits the 5.5″ x 8.5″ inserts. Place some Filler Paper, Plastic Dividers, and Binder Pockets inside.
Print out some small monthly sight word lists that are broken down by the month on one page. Print an extra copy and cut those lists up by month.
Attach the cut up months to the plastic dividers on both sides with some tape (I used some cute washi tape I already had on hand).
Write student names on the rest of the printed lists and place in side the binder pockets.
You might want to check out:
Need some new ideas for Back to School? This 114 page digital book has you covered!
Includes 14 ad-free articles from Organized Classroom, including topics such as:
- Easy Bulletin Board Ideas
- Quick Classroom Decor
- Fundraising Hacks
- Getting Parents On Your Side Right Away
…and even more!
Now available in our Shop! And the second copy to share with a friend is half price!
When it is time for fluency/sight word checks, you can simple open the binder and place like an easel.
Use some highlighters (maybe a different color for each quarter?) to notate which words the student knows and which he or she does not.
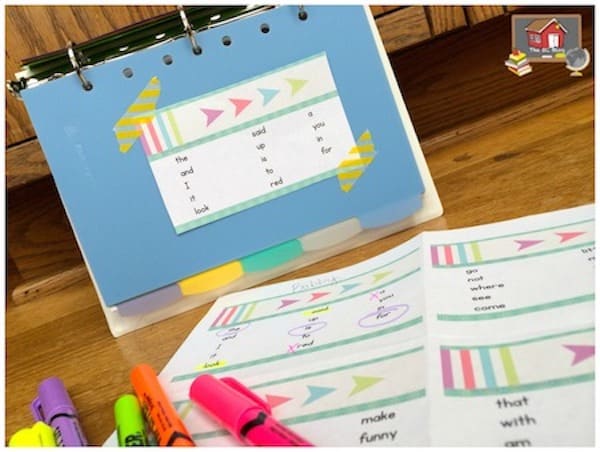
So easy to assess and super simple to take with you wherever you want.
Hopefully you were able to get some new ideas for your classroom from what I have above and just for stopping by to check it out – I have some fun printable freebies that are also editable for you!
How about all the covers for all 3 projects? Yayyyyyy!
Click on the covers below to download and enjoy!
Personalizing your school binder covers is an important and fun way to enhance organization and make the process more enjoyable.
Whether you choose to use stickers, create a collage, paint or draw, use washi tape or ribbon, or print out custom designs, the possibilities are endless.
By choosing materials and designs that reflect your personal interests and style, you can create unique and personalized binder covers that will make organizing your schoolwork a breeze.
So go ahead and get creative – your binders (and students) will thank you!
How do you use binders in your classroom? I would love to hear even more ways in a comment below.
Talk to you soon,
~Charity