Easy Label Creation for Teachers
Today I will show you how to create labels for all your classroom needs!
Making labels has never been easier!
I used to use Microsoft Word for labels (I am pretty old school) – BUT I LOVE the Avery Print and Design site these days. So much easier and they are customized to your exact labels. So easy – and FREE!
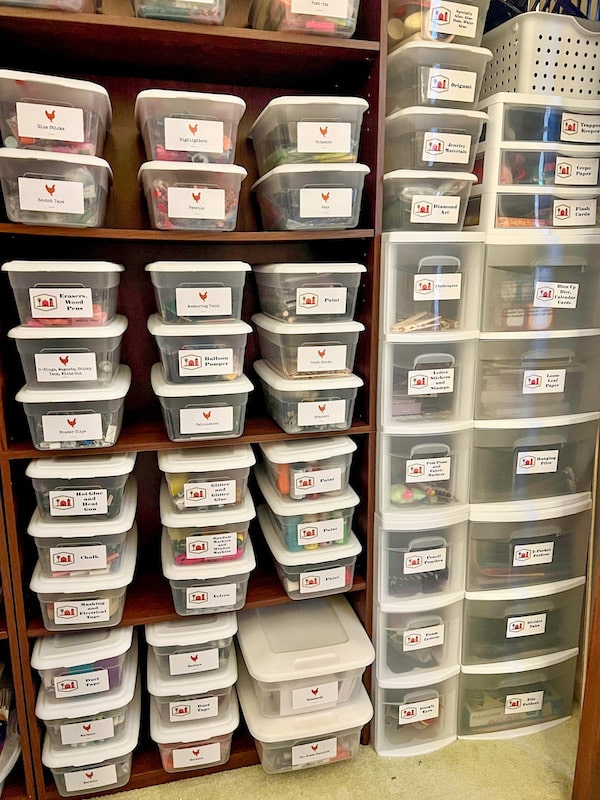
You can begin by creating labels for your student folders. Move on to book baskets. Then, you realize you are able to label students for field trips, desks, cubbies, supplies, and your personal trade books. It is pretty much over at that point. You are now a full-fledged label junkie like me!

A fun teacher tip for starting out the school year:
I spend an hour or so when I first get my class roster with names on it and create an entire sheet of labels for every student.
Why?
I can then slap the labels on everything that child uses in the classroom.
Things like:
- Workbooks
- Folders
- Cubby Areas
- Mailboxes
- School Supplies
- Classroom Jobs
- Lunch/Bathroom Markers
…and the list goes on and on…

Would you like premade posters to inspire your students?
This pack of 25 colorful watercolor posters includes quotes from famous athletes.
Click HERE to grab them and save yourself time!
How to create your own template
Let’s go through the steps right from their site to see just how simple it really is!
Step One: Decide what size labels you want to print on. I usually go with either the 2×4 or the 1″ x 2-5/8″ size depending on what I am using it for. The larger labels are great for a folder title, posters, or centers. While the address label size is better for cubbies or names on folders or books.
Most also come in either clear or white.
The best part? The choice is yours.
You could also use round labels, square labels, file folder labels, etc. I might have a label problem as I am currently looking at 2 boxes full of all different types of labels in my home office – ha!
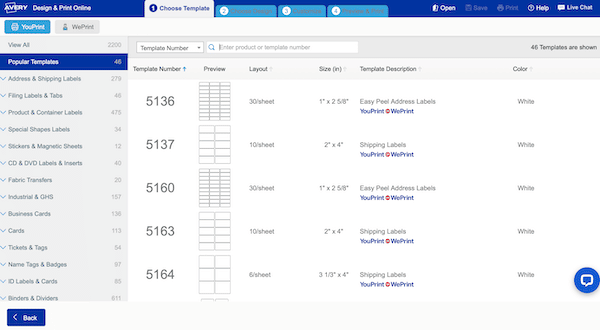
Step Two: Go to Avery’s Design and Print website and choose “Start Your Design.”
Step Three: Then you can enter in the product number from your chosen label size. Mine are usually 8163 or 8160.
Step Four: Choose your design. This is the fun part! You can choose a premade template as a starting place OR start with a blank label and design your own!
You can either use the Search box to type in a word or phrase (such as school) OR use the left sidebar to narrow down your choices too.
I decided to pick “Home and School” from the sidebar and then “Students and Youth” from there.
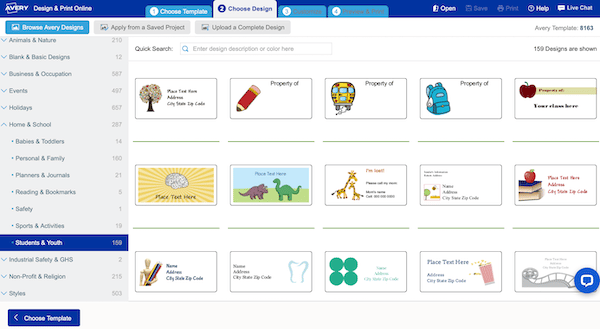
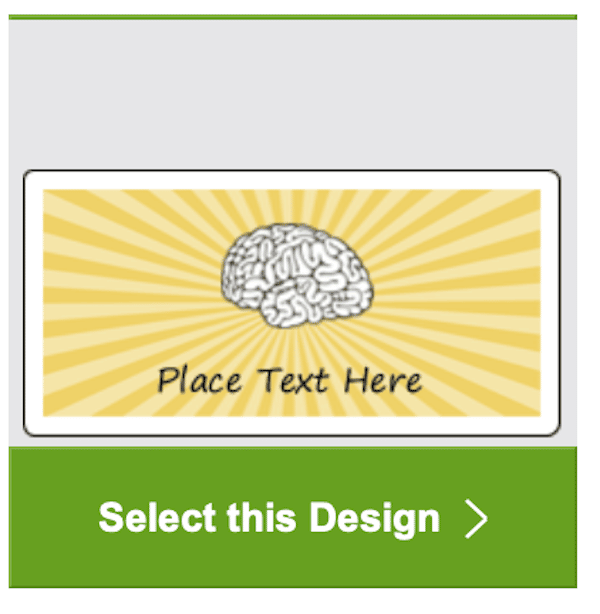
This was the design I decided to use a jumping off point.
Would you like premade posters to inspire your students?
This pack of 25 colorful watercolor posters includes quotes from famous athletes.
Click HERE to grab them and save yourself time!
Step Five: It’s time to customize your label!
From the customize screen, you can add in additional images (maybe a picture of the incoming Kindergartener so he or she starts to recognize their name in print?), change/add text, add shapes, QR codes, and more.
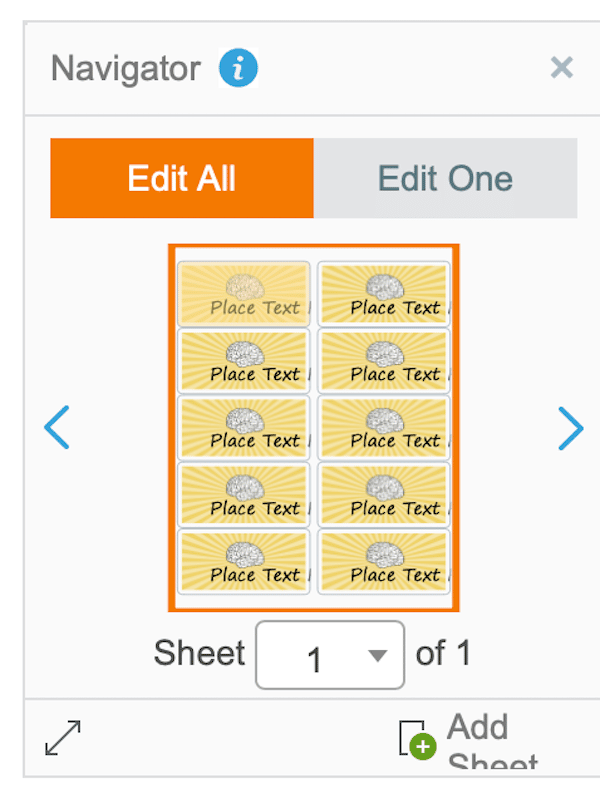
One thing to know as you are designing – always look at the right sidebar to check whether you are editing ONE of the labels on the sheet OR ALL. Not going to lie, this has tripped me up more than I care to admit. You can also add in additional sheets of the same label if you want to make more than whatever is on the page.
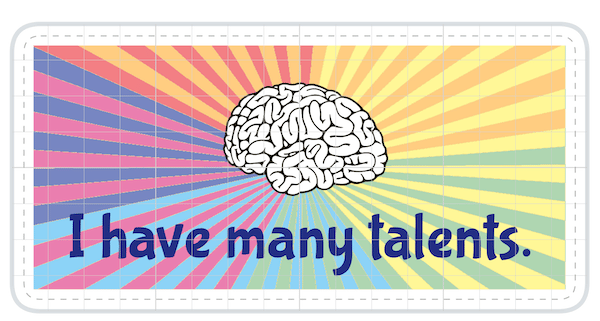
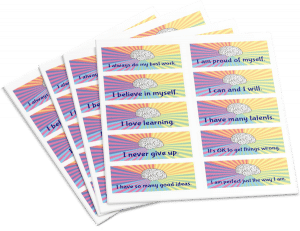
I decided to make my sheet of labels positive affirmation stickers to hand out to students when I notice they really went above and beyond OR just need a pick-me-up. Some good reminders throughout the day.
When I was editing, I changed the text color, size, and font. I also changed some of the colors. I left the brain the way it was because I liked how it stood out.
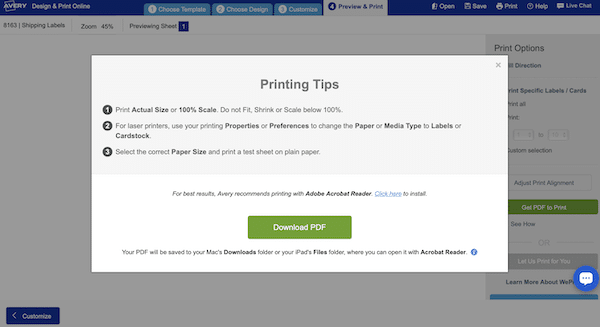
Step Six: Once you have your labels set the way you want them, choose “Preview and Print” to get the finished file!
For printing options, you can either pay to have Avery print and send them to you OR choose “Print it Yourself.”
Choose “Get PDF to print” and then this dialogue box comes up and choose the green “Download PDF.”
Step Seven: Last step is to insert your blank labels into your printer and print them out!
So easy, right?
Perfect for school or home projects. I needed to redo my supply boxes at home and quickly printed off some labels and slapped them on the front of the box.
Would you like a copy of the positive affirmation stickers I made? I used the 2×4 labels – Avery template number 8163. Grab them below!
What else do you use labels for in your classroom? We would love to hear in the comments below!
Can’t wait to here from you,
~Charity