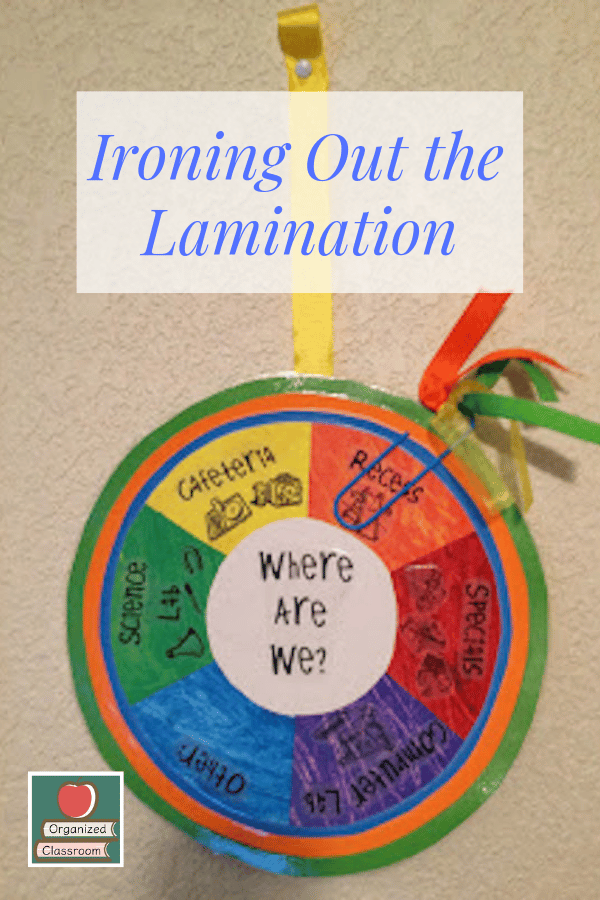
Ironing Out the Lamination
Don’t you hate it when you are laminating paper for your classroom, and the machine spits back out a creation filled with air bubbles? Sometimes, even when you use adhesive laminating sheets on home laminating machines for arts and crafts, you can have the same issue. And the price of those laminating pouches isn’t cheap!
Or, maybe you get a wonderful document after running it through the machine, but as you cut the pieces or trim the edges, the seal breaks open. Arggghhh!
Organized Classroom has you covered with a fix from our wonderful guest blogger today!
Hi OCB Readers! My name is Amy and I am a kindergarten teacher and the teacher behind Teaching in Blue Jeans. I am really excited to be guest blogging here at OCB this year. Today I have a great tip for you that started as a total experiment. Luckily, it was an experiment that went right!
You might want to check out:
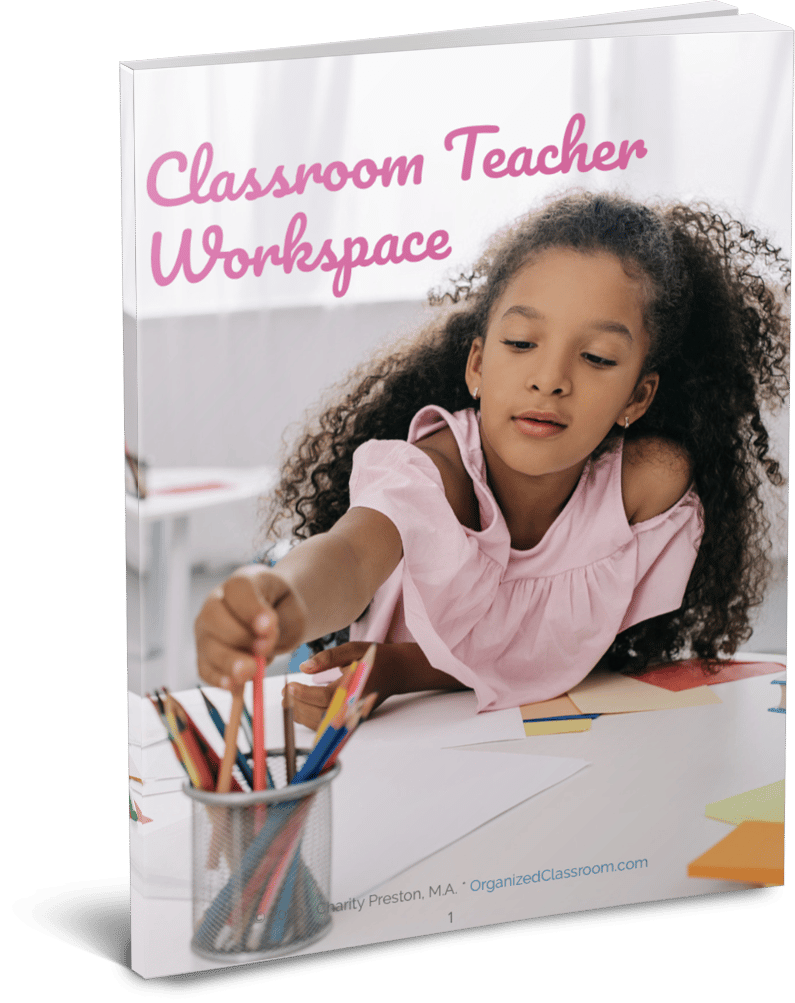
Need some new ideas for organizing your classroom environment? This 108 page digital book has you covered!
Includes 16 ad-free articles from Organized Classroom, including topics such as:
- Easy DIY Projects for Making Mundane Office Supplies Cute Again
- New Ways to Use Old Supplies
- A Quick Tech Tutorial that Will Save You Money on Classroom Decor
- Unique Ways to Use Binder Rings
- Student Desk Straightening Tips
…and even more!
Now available in our Shop! And the second copy to share with a friend is half price!
You see, it was an experiment that started with this:
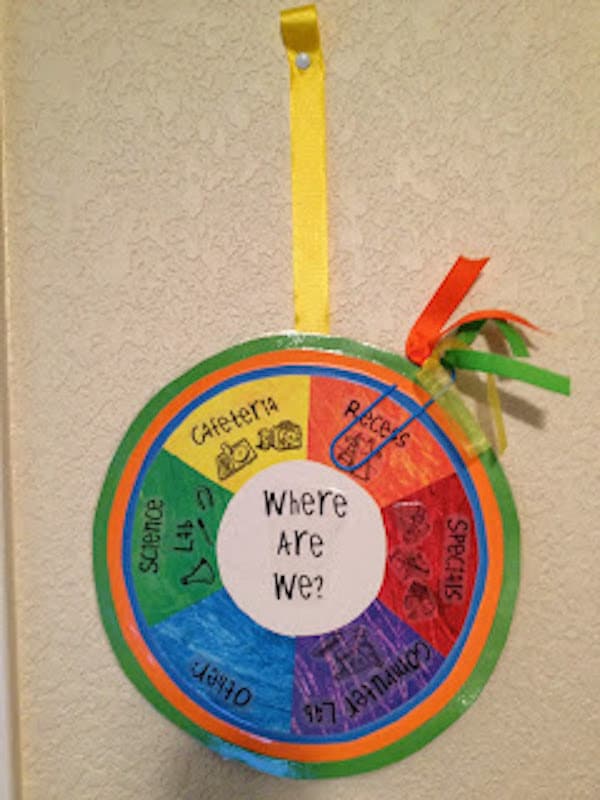
My “Where Are We” sign for outside my classroom door.
I had really been wanting and decided to work on it over the summer. I knew that it would have to be sturdy if it was going to last the test of time and daily use by my kinder kiddos. So I used 3 layers of cardstock as a base.
I loved it and couldn’t wait to use it until I ran it through the laminator at school.
It came out a big, air pockety mess!
I was disappointed, sad and frustrated all at the same time. You see, I am a self-proclaimed perfectionist and there was no way I would hang it up full of air pockets.
So I started thinking of options. I decided to take it home and experiment with it a little.
Now, I’ve never heard of anyone using their iron on lamination, but it was worth a try. At this point in time, the sign was headed to the trash can so I really had nothing to lose.
Well, it worked so today I am going to show you how using this:
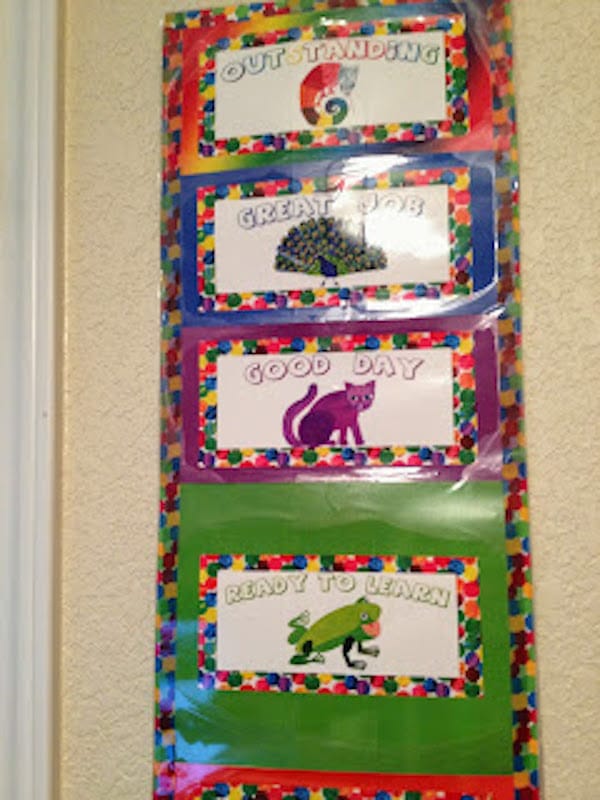
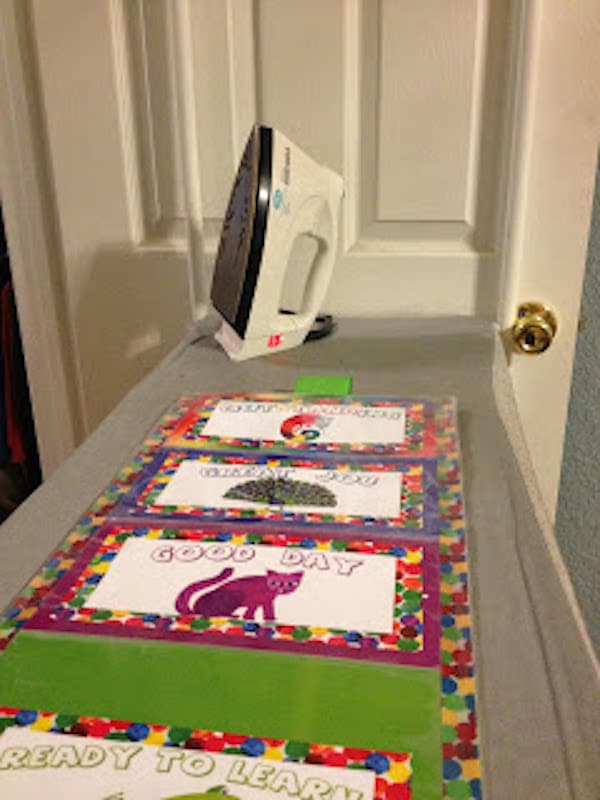
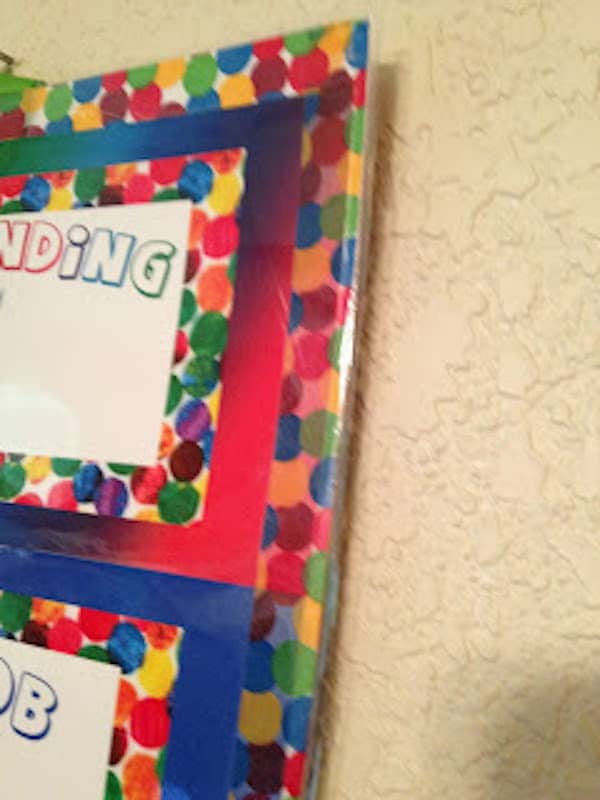
My Classroom Behavior Chart – also an air pockety mess!

Look at the HUGE air pockets that go from one side to the other.

Air pockets and bubbles everywhere!
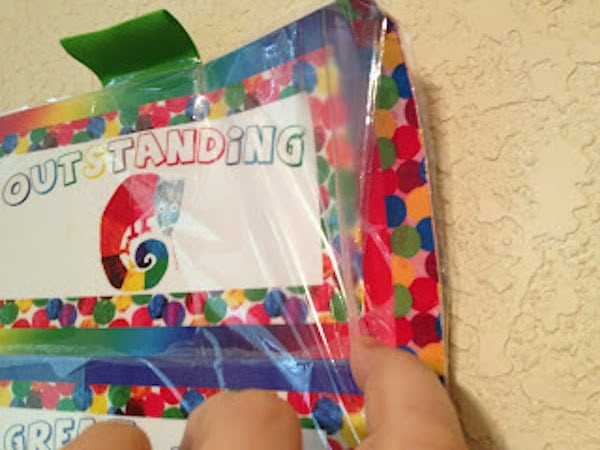
Wow! After just 1 month the side seal has already separated.
Yes, my behavior chart is in pretty bad shape and we have only been in school for 4 weeks! It’s time to get this fixed.
How to Flatten a Poster
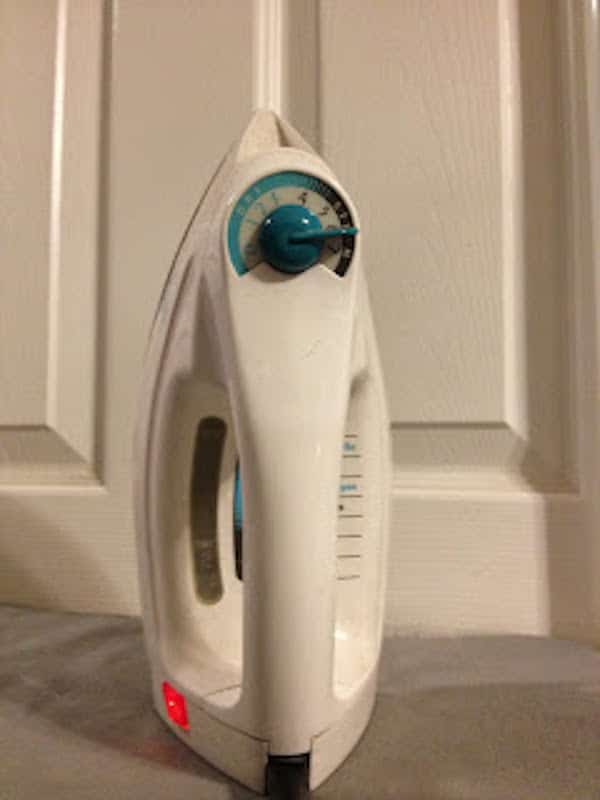
Here’s what you will need if you need to iron out your lamination: an iron on high heat, a thin towel or fabric (I used an old t-shirt), and your lamination.
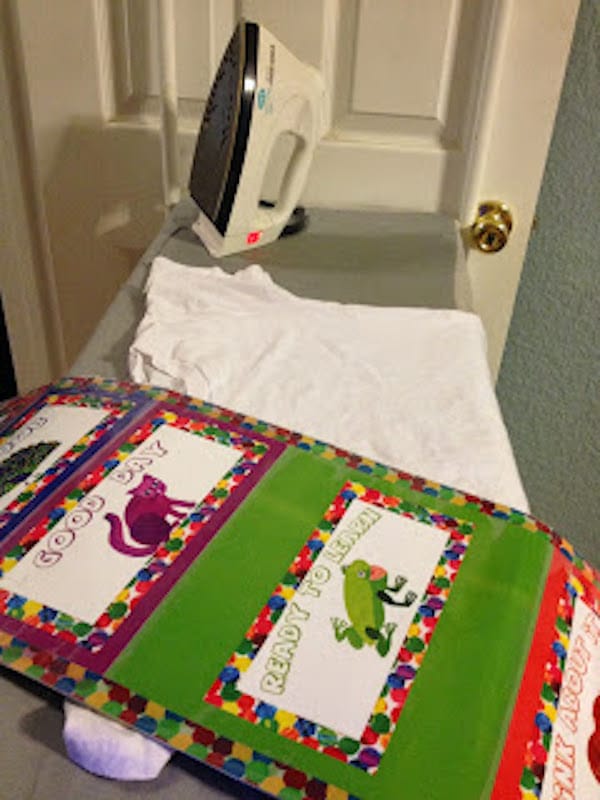
I started by putting my iron on the hottest heat it would go since I knew from experience that the laminator at school gets really hot.
Next, I laid my behavior chart down onto my ironing board.
I thought ahead enough to know that I didn’t want to melt the plastic so I opted to put a towel between the iron and my chart. However, I quickly learned that a regular bath towel was too thick.
I grabbed an old t-shirt and it was just perfect! The t-shirt goes right on top on the lamination.
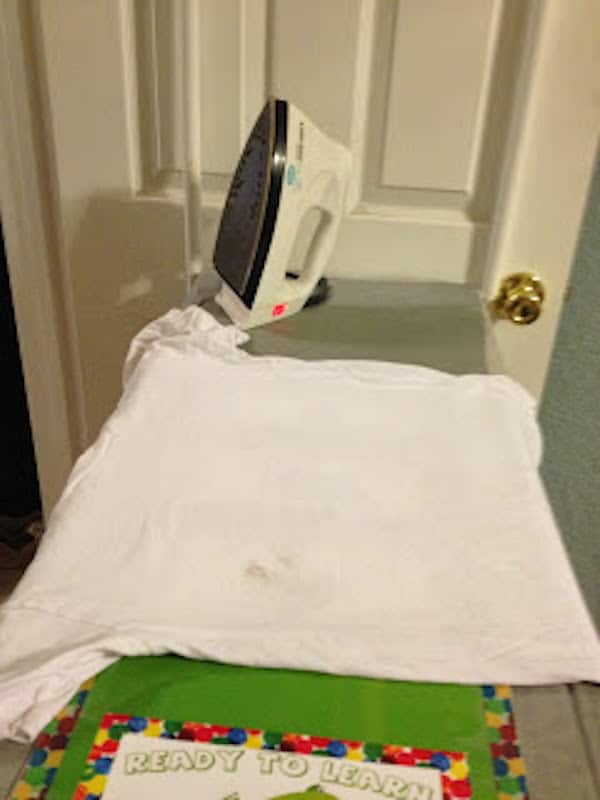
Then it is time to iron.
I started my iron in the middle and then worked toward the edges. I applied firm pressure with the iron and moved the iron slowly across the behavior chart.
After a couple of passes over an area, I would uncover it to check the status. If any air bubbles or loose lamination remained I went over that area again.

After ironing out the front side, I turned it over and went through the same process on the back. All in all, about 5 minutes is all it took.
Now my behavior chart looks as good as new. Look at the difference:
BEFORE

AFTER
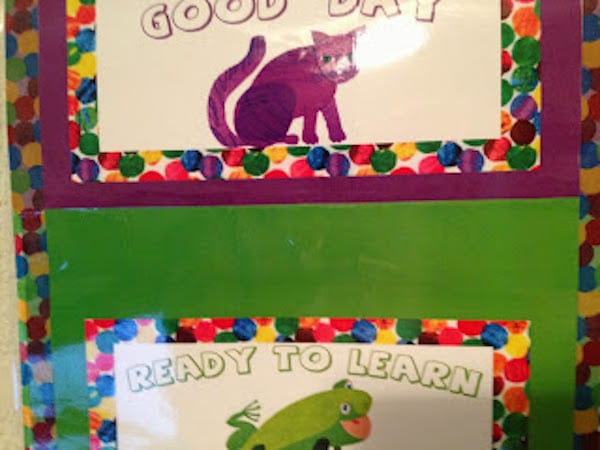
BEFORE

AFTER
I think what I love most about this discovery that I made is that now I don’t have to compromise when I am making something heavy duty. I can continue to use multiple layers of cardstock for durability and have it laminated too!
Would you like to know step-by-step routines that put teachers back in control in just 4 weeks?
Download the FREE Classroom Systems Starter Kit now!
Where Can I Get Papers Laminated?
Don’t have a laminating machine handy to you? You can always take your item(s) to a local office supply store where they will be happy to laminate the items in a timely manner. The bonus is that at those places, they have very wide laminators, so they are able to do larger items, such as posters very easy too!
Need a couple more lamination classroom ideas?
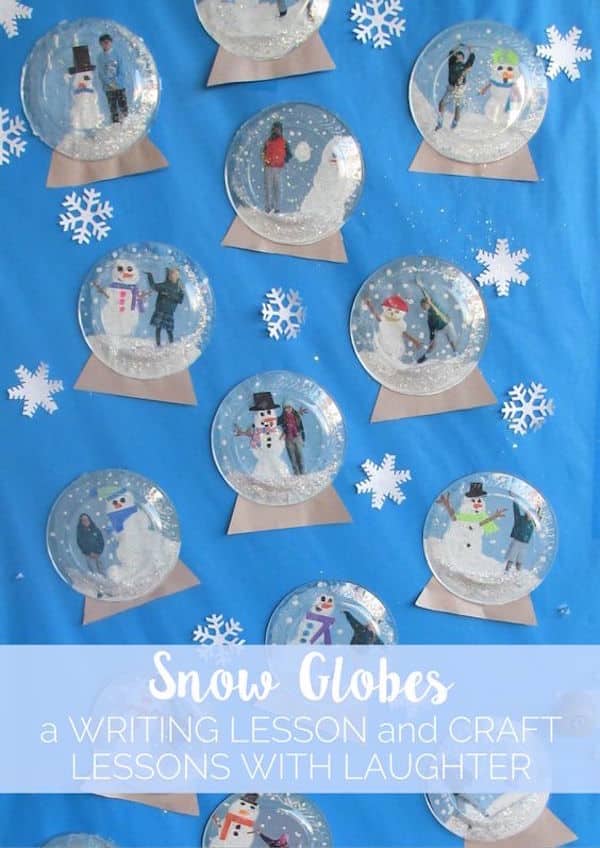
- I adore this Snow Globes Writing Craftivity! So much fun and it really makes a cool momento to display in the hallway too!
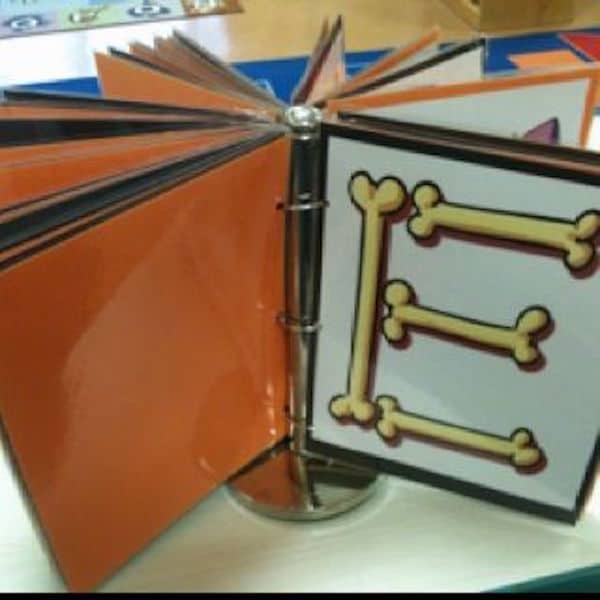
- This is a neat idea too for the preschool teachers out there! Laminate letter papers, hole punch, and then use binder rings to add them to a paper towel holder. It creates a flip book of sorts, which would be perfect for center work!
What are your favorite ways to use laminating machines? How about tips for creating perfect seals every time? We would love to hear your ideas in the comments below!
Amy is a kindergarten teacher and the blogger behind Teaching in Blue Jeans. No, she doesn’t get to wear blue jeans everyday, but she uses her Blue Jean Mentality to make her classroom a place where students are comfortable, active and willing to try new things.