How To Create a Digital Filing Cabinet
The idea of taming my paper clutter has been floating around in my mind for a couple years now, but this year I took the plunge. If you know me, you know what a big deal this is. I should probably introduce myself – “Hi. I’m Amy and I have pack-rat tendencies!”
So, I’m sure you are wondering if I love to keep and save anything that I think might be useful in the future, then why, oh why, would I want to get rid of my filing cabinet.
Well, the truth of the matter is that I have realized that I can keep everything I use or want and have it to use in a much more efficient manner.
The other benefits of “downsizing” in my classroom include more space for my students to work and more room for things that matter on a day to day basis.
You see, I have created a new filing cabinet on my computer. One that allows me to file with much more detail and one that is much more easily accessible.
Additionally, it just fits me and the way I do things.
I am not one for just doing everything the same way I did it last year.
In fact, like many of you, I am always looking for new, engaging ideas for my classroom.
You might want to check out:

Need some new ideas for lesson planning and calendar organization in the classroom? This 70 page digital book has you covered!
Includes 14 articles from Organized Classroom, including topics such as:
-Curriculum Mapping
-Setting Up Your Daily Classroom Schedule
-Digital Filing Cabinets
-Weekly Planning Resources
-Several To-Do List Templates
-Balancing Home and Work Life in your Calendar
-File Organization
…and even more!
Now available in our Shop! And the second copy to share with a friend is half price!
That being said, I have tended to accumulate more than I have reused. If this sounds like you, I want to share my online filing cabinet with you. By no means is this cutting-edge technology, but it has made my lesson planning and “filing” much more efficient and user friendly.
No more stacks of paper to file away at the end of the week, month, or dare I say semester.
To get started with creating an e-filing cabinet, I went to my computer.
I am a PC user at home and a MAC user at school. What I will show you today is from my home, but can easily be done on a MAC as well.
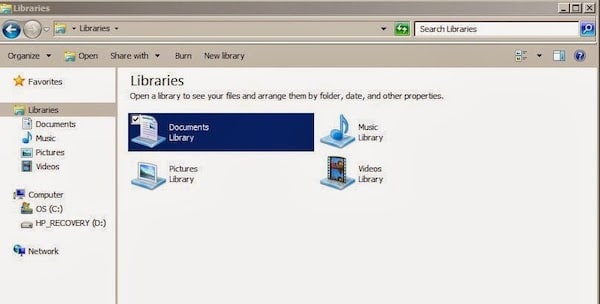
I started with the Libraries that were automatically on my computer in the Windows program. In a sense it has given me 4 different filing cabinets: one for documents, pictures, music and videos.
I use the Documents filing cabinet for my school things.
Once in the Documents filing cabinet, I have created many different folders, just as I would have in a traditional filing cabinet.
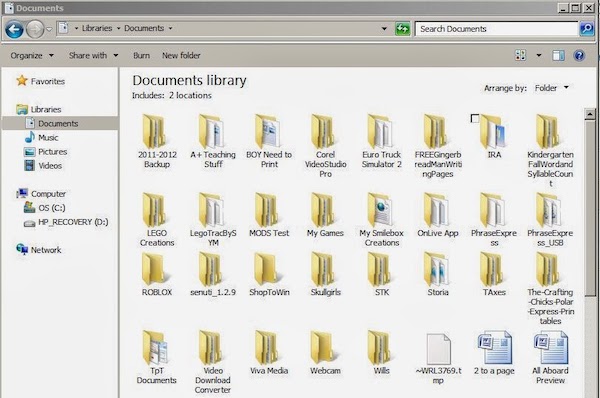
As you can see, there are folders for personal things and work things all together (and even a couple that need to be re-filed).
I do all of my school things in the A+ Teaching Stuff folder. Why A+ Teaching Stuff, you ask?
Quite honestly, because I wanted easy access and A+ puts it at the top of my list, where as School Stuff, would have put it toward the bottom.
Here’s a glimpse inside the A+ Teaching Stuff folder.

I have tried to create folders to cover the different areas of my Teaching Stuff to further add some organization to my filing.
Instead of everything together I separate out my school resources (divided by grade levels that I have taught) from resources that I create for my blog or TpT.
Inside each folder you will likely find more folders until I get down to the very last topic or unit. This allows me to keep like items together and saves me time when looking for something specific.
Here’s an example of how it works for me. Here’s my Kindergarten folder. I have it divided my subject matter or topics.

When I am looking for something for social studies or math, this makes it easy to get right to the source.
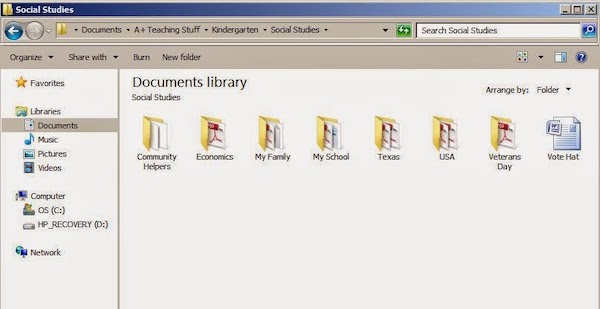
Inside the Social Studies folder I have further divided the topic into the units that we teach. Each unit has its own folder which allows me to quickly and easily find items when I need them.
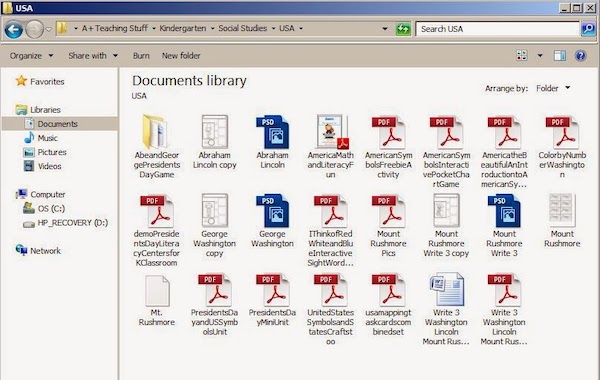
And with a total of 4-5 clicks I have limited my viewings to my resources for our USA unit. In this folder I keep everything I have, including items I have made, bought or found on the Internet.
When I am ready to plan I can look through these files and pick and choose the items I would like to use.
I have also saved a lot of ink since I only need to print the page or pages I want to use. And by using a multiple layers of folders, I am not viewing thousands of files simultaneously or trying to remember what I might have saved a file as.
The best part of all, all of these resources don’t take up any more room that my computer. I can also easily copy them into my Dropbox and access them from any computer.
Now lesson planning doesn’t mean I must be in my classroom (since that’s where my files are) and I’m not toting home stacks of resources to look through.
It is a fairly quick and easy process to set up your own e-filing cabinets. There’s no right way. My advice would be to organize in a way that makes sense to you. You will be the one using it!
One last thing – I don’t miss my big metal filing cabinet a bit. I did lose my Magnet Center, but that just gave me an excuse to create this in my classroom.
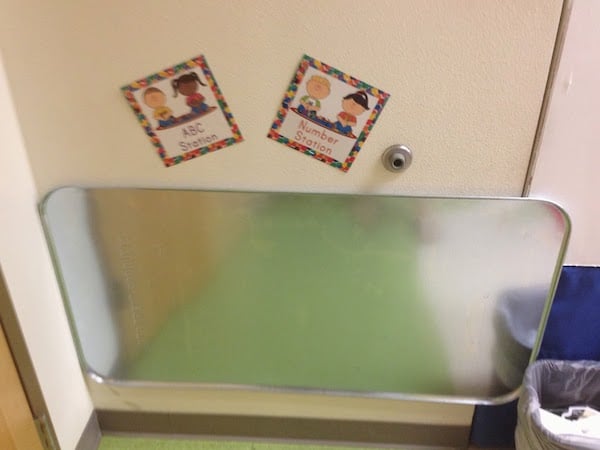
Thank you Pinterest for the idea of using an oil drip pan to make a magnet center. I never would have thought of this on my own! Tucked away behind my classroom door, I know how usable space in a generally unusable space!
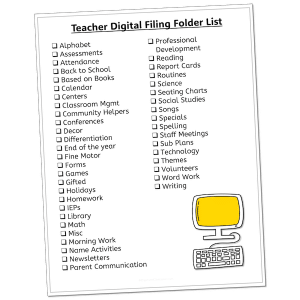
Would you like a list of 44 Digital Filing Folder Categories to get you started? Download it below!
Amy is a kindergarten teacher and the blogger behind Teaching in Blue Jeans. No, she doesn’t get to wear blue jeans everyday, but she uses her Blue Jean Mentality to make her classroom a place where students are comfortable, active and willing to try new things.