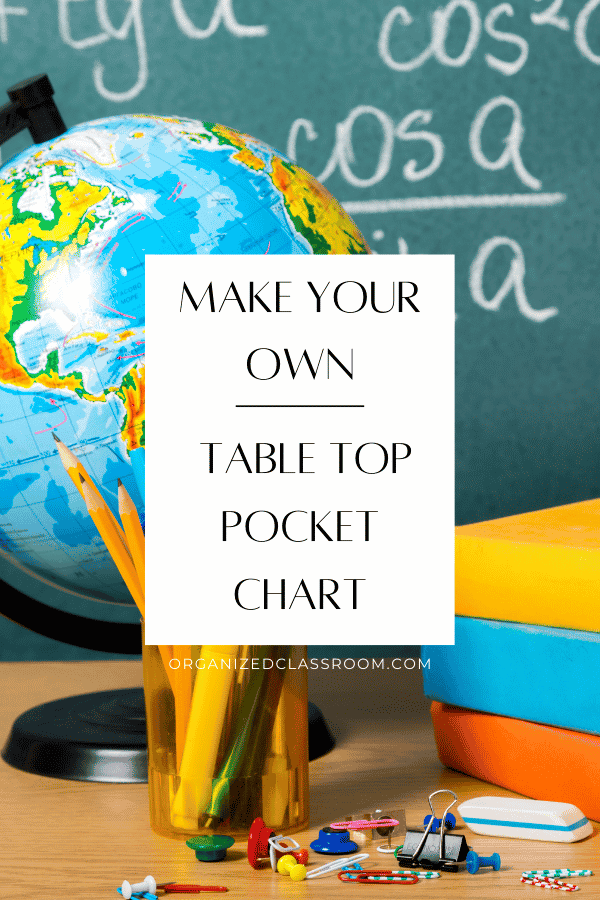
Make Your Own Table Top Pocket Chart
Hey teaching friends! I don’t know about you, but I am a serious pocket chart junkie! I have just about every size and color they make.
They have been used for behavior, daily schedules, calendars, vocabulary, centers, and more. BUT – the one issue I have with pocket charts is that (at least in my town), you cannot find basic colors other than red or blue. Period.
While I know I could order one online, there is just something about having it now. Right now. Because I need to match a certain color scheme in my room. So a custom pocket chart is this girl’s dream come true!
You might want to check out:
Need some new ideas for classroom decor and instructional materials in the classroom you can make yourself? This 219 page digital book has you covered!
Includes 25 articles from Organized Classroom, including topics such as:
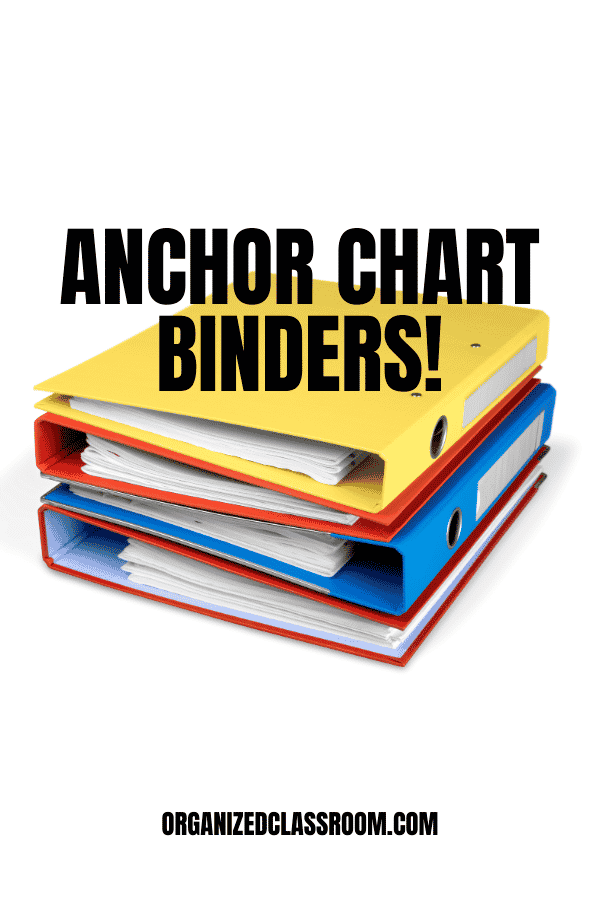
- Simple Chair Pockets
- DIY Classroom Mailboxes
- Cute Student Birthday Snacks
- Page Protector Solutions
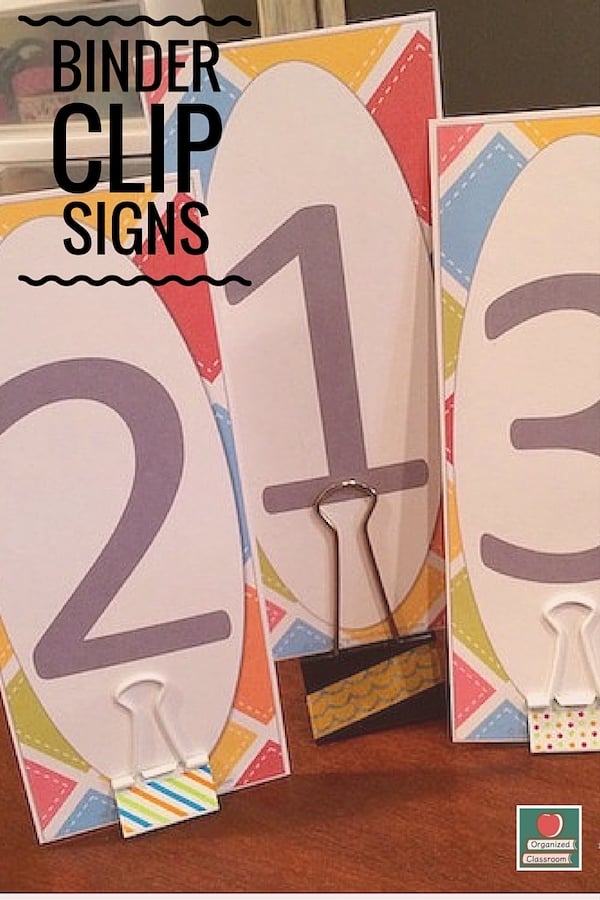
- Easy Center Sign Holders
- Pocket Chart Makeovers
…and even more!
Now available in our Shop! And the second copy to share with a friend is half price!
Learning resources that won’t break the bank
Pocket charts are awesome for so many uses in the classroom. You can use them for spelling words, math facts, vocabulary, classroom jobs, group organization. There are daily schedule pocket charts and charts for tracking student behavior. Calendar pocket chart are awesome for, well calendars.
Finding uses for pocket charts isn’t difficult. But having the funds to purchase all those classroom resources can be a challenge.
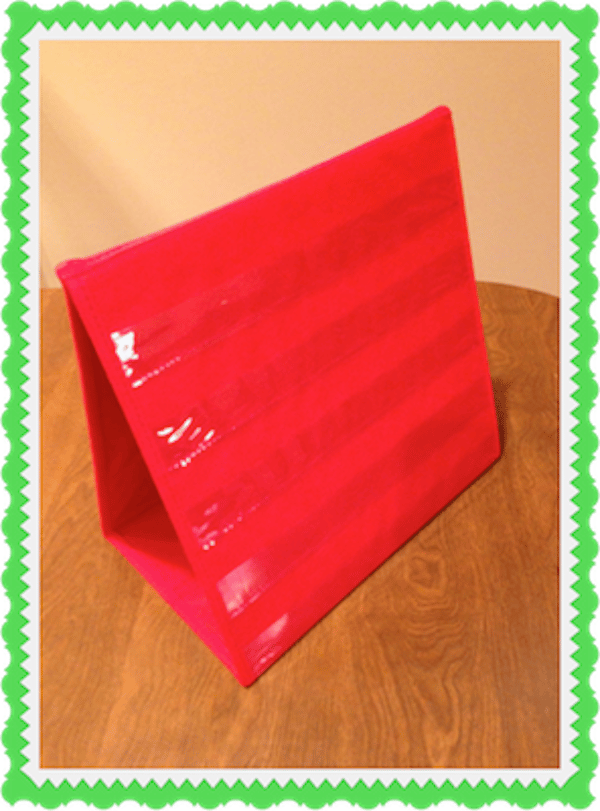
I saw this handy little table top version at my local big box store this weekend in the back to school aisle, and it is great! Very sturdy and helpful.
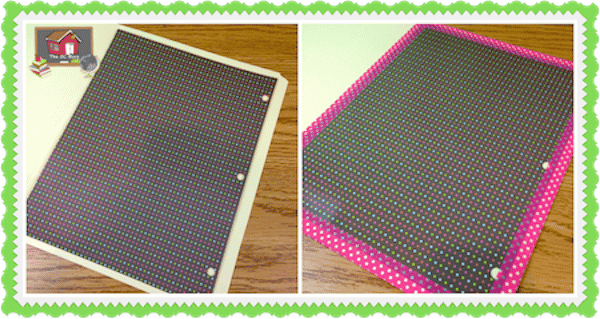
But, what if I don’t have a lick of red in my classroom decor? Well, I set off to try and recreate my own version that would work – and be matchy matchy. I think I did ok.
The bonus? They cost pennies to make! In fact, I had all the materials I needed in my stash of supplies!
Here how to make your own too!
Pocket chart DIY
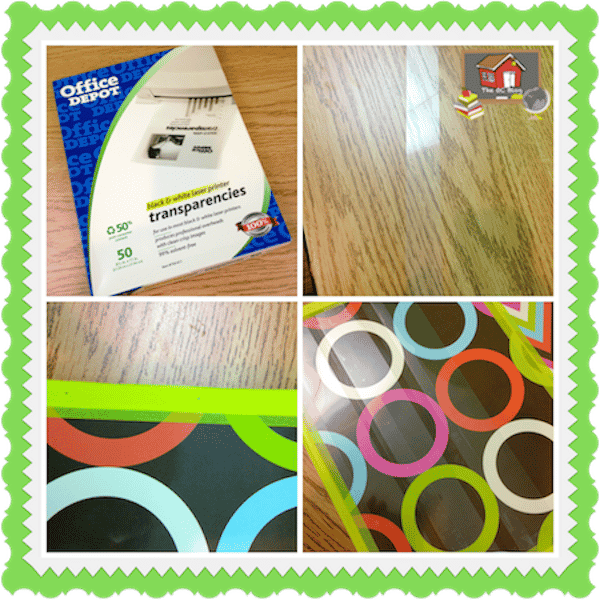
1. You will need plain file folders, scrapbook paper (I actually used binder tabs I had on hand from a sale when they were 50 cents last winter), washi tape (optional), blank transparencies, velcro, and clear tape.
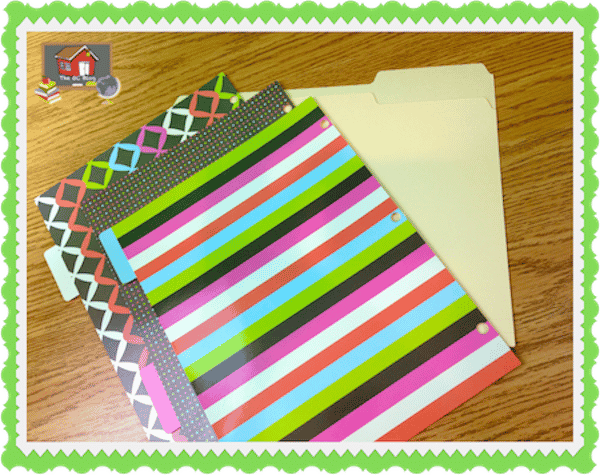
2. Open your file folder and place your paper inside. Tape or glue it down. The washi tape is optional if your paper is large enough to cover the entire area. The tape was helpful for me because it held the paper down and created a cute border at the same time.
3. Cut off the file folder tabs so it is an even line.
4. Next, cut your transparencies into long strips. I used a paper cutter and cut mine into 2 inch strips.
5. Measure out even intervals on your file folders. Place a small dot with a pencil to mark the edges.
6. Use the clear tape to attach the transparency strips on the sides and along the bottom.
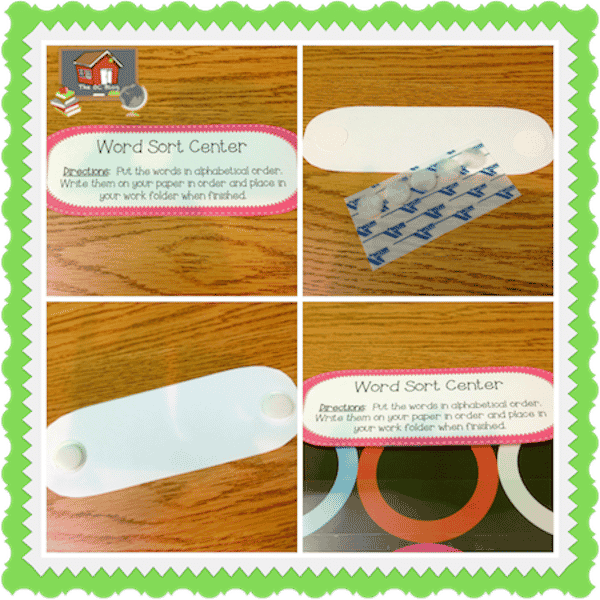
7. Create a fun little center sign with directions on cardstock. Laminating it will keep it lasting longer.
8. To attach to your mini pocket chart, attach velcro to the sign, then add the matching velcro dot to the other velcro dot. Finally, flip the entire sign over and place on to the file folder in the correct spot. Now, they are lined up perfectly and you have a removable center sign that can be swapped out whenever you like!
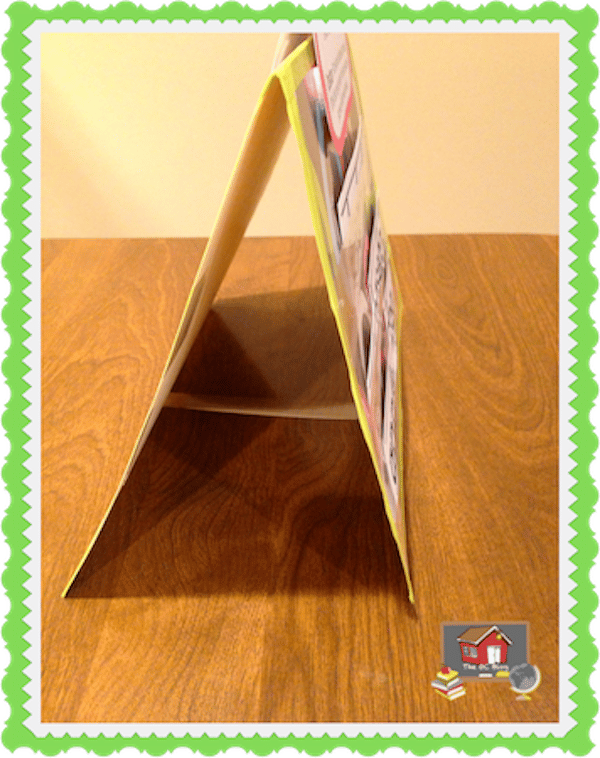
9. Last up – repeat the process on the other side of the file folder. Now, you can have differentiated centers! Have students flip the mini-pocket chart to whichever side you specify! Or be able to create double the centers if you have limited space! Yay! A quick tip: if the folders are sliding on the smooth surface of the table, use a strip of clear tape sticky side up and attach to the outside edges of the file folder. Works like a charm!
Here are pictures of mine from both sides.
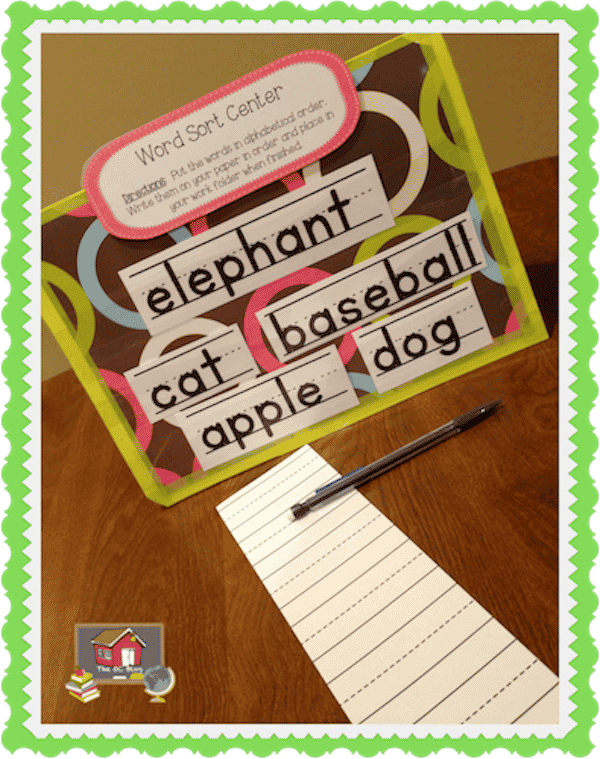
Pop your sentence strips in and you’re ready to go!

Would you like to know step-by-step routines that put teachers back in control in just 4 weeks?
Download the FREE Classroom Systems Starter Kit now!
I am so excited about how neat they turned out! What do you think you could use your DIY Table Top Pocket Chart for in your classroom? What colors will yours be?
~Charity