
Custom Organized Computer Desktops
Teacher truth time! Are your classroom computers in need of a computer desktop organizer?
As in, are the icons and shortcuts placed haphazardly all over the screen in no particular order?
Even worse: Are they randomly there and not even grouped in a grid formation?
It’s ok. I’ve been there too.
Check out this simple and free idea for an alternative to allowing your students to waste precious minutes trying to find out where they should be logging in and getting started on the day’s online activity.
How do I organize my computer desktop with wallpapers?
If you are anything like me, my computer desktop needs to be organized in a certain way.
First, most everything needs to be in a folder. They drive me berserk if I have random icons floating all over the place.
After that, I want to make sure that items are grouped together accordingly in the best way that makes sense.
While I have always used a basic picture image as my wallpaper desktop background, I thought if I had a workmat to organize the different folders, I might like it even more – and I do!
You might want to check out:
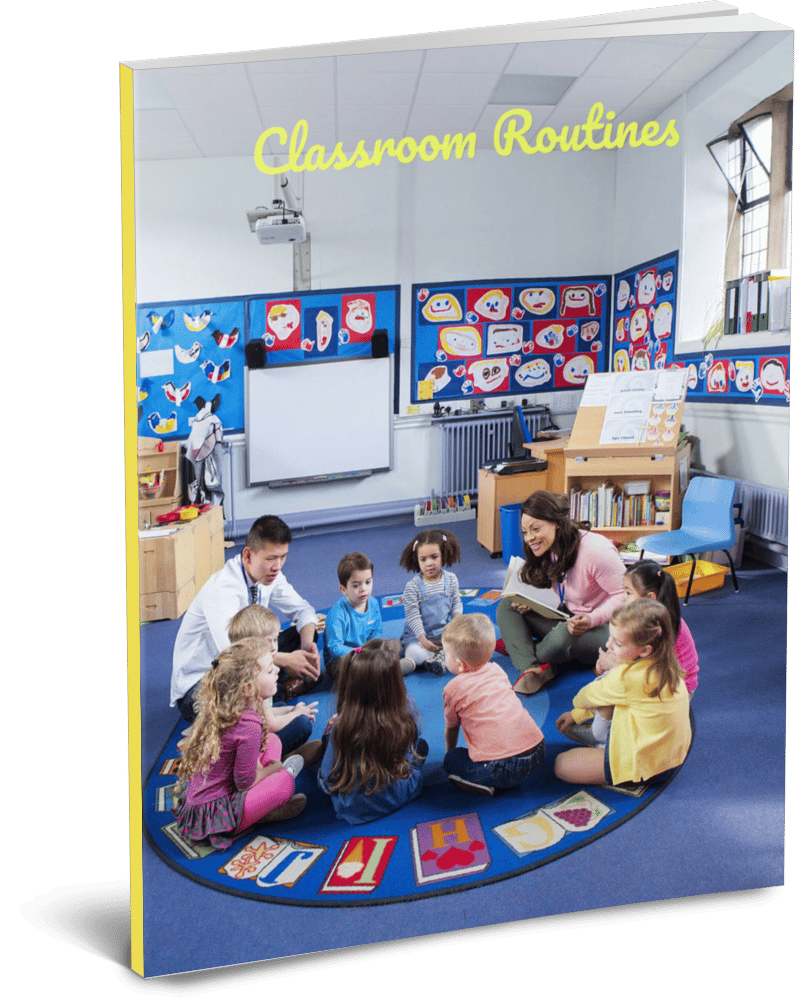
Need some new ideas for simple routines in your classroom? This 106 page digital book has you covered!
Includes 15 articles from Organized Classroom, including topics such as:
• Organizing Absent Work
• Helping Student Get Organized
• Remembering Names on Papers
• Organizing All the Paperwork
• Bathroom Break Tips
…and even more!
Now available in our Shop! And the second copy to share with a friend is half price!
Here are some super fun examples I whipped up this morning:
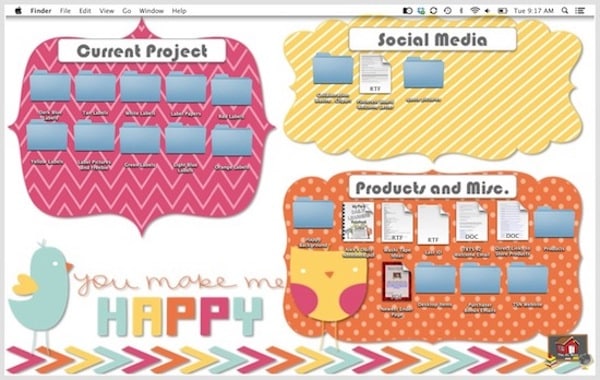
Of course this example below is more for my personal computer, but it could be done easily with a school focus too!
Your student computer desktops can also be organized in exactly the same way. Use different categories, such as math, reading, centers, science, and so on when designing those wallpapers.
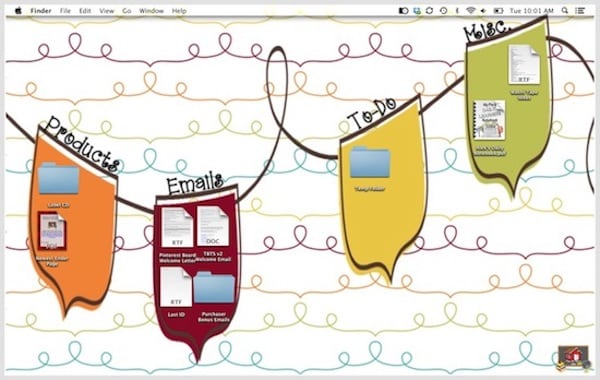
All fun and I can change them out – or move around folders on the image as much as I like! Perfect!
Directions for How to Clean Up Messy Computer File Folders
Want to see how to create your own as well? Check out the video tutorial below and have fun creating yours!
Video Transcript if you prefer to read instead of watching:
“Charity Preston here from Organized Classroom. I hope you are wonderful and fantastic today.
So today I want to do a really, really quick video for you to show you how to create your own custom organized desktop background. I’m going to show you how to set that up.
I personally have a Mac book pro. You can still do this on a PC if you have a PC.
I am going to show you how to create it with PowerPoint though. So you will need PowerPoint, Google Slides, Keynote, or some other similar program in order to do it. But it’s going to be basically the same idea. You will just do it in your program with the same kind of steps.
I’m just going to open my PowerPoint and I’m going to just choose a plain white background.
Now I’m going to get rid of these text boxes and I am going to go up here and I’m going to change my page set up just because I want to a little a little bit more wide because my screen, since I have a Mac book pro is much wider than it is tall.
All right, now you have a blank canvas to work from.
From this point, you could add a background if you want to.
You can add labels on top of it, clip art, or whatever you like to do.
I’m going to show you very simply how to create your own labels style with basic shapes and PowerPoint.
Go to insert shape and let’s try this one first – a circle and maybe this one too. That one’s kinda cool like that. We’ll make it a little bit bigger.
Now I’ve got some and they look basically like labels.
Next, I want to change the background on them.
Of course you can go in and just format the shape and you could change it just to a different colored background if you want.
But if you actually want to change it to a digital paper that you can download, I’m going to go with, let’s go with the blue chalkboard and you can see exactly how it looks. Looks like a chalkboard, right? Pretty cool.
I always make sure I change the line color because it’s always that default blue and then you can change whether or not it has a shadow. It’s up to you. Whatever you decide to do. So let’s change this one as well. Change the line.
Okay.
I’m going to change the fill to a picture that’s on my desktop already. Let’s go with green this time and then let’s do this one in the black I think. Okay, so once you get that done, now I’ve got some basic ones that just look like frames or labels.
Now I want to add my titles at the top of it so I can organize my folders. So I’m going to go in and I’m going to just basically insert a text box.
I don’t like whenever it shows up, right on top of the shape, soI resize the text box here and then I will move it.
I want to change the font to this one and I’m going to change it to a white font. Why? Because I’m putting it on a chalkboard of course. Then make it a little bit bigger. Alright.
There’s one label that’s on there and we’ll change this one. I’m just going to copy and paste it. We’ll put it down here as Emails.
And then this one will be Current Projects.
It’s truly as simple as that.
You will just continue to create some shapes and add the backgrounds of your choices.
Of course you could add some cute little clip art around here if you choose as well.
Now it’s time to save. Go to “file” and I’m going to save it as a picture. It’s going to save as a .jpeg right to my desktop.
I actually like to change the name of it so that they’re not all named slide one.
If I click on it, it’s just an image. It’s like a picture you took on your camera.
Now on my computer, I actually have to go in and import it into iPhoto, so I’m just going to import it there.
Now that it’s in iPhoto, I can change it to my desktop background.
There it is. So I can then just from that point go through and organize everything that I have to the right place on the wallpaper background.
It’s truly as simple as that everyone. You could do this for your classroom teacher computer and even your student computers.
If you want to have a math placeholder for all of your math program icons, one for reading, one for spelling, one for games, and whatever else you like.
The best part is that it truly does not take very long time at all.
So you can change them out as many times as you want.
You can make it seasonal. Maybe there’s a holiday coming up and you just want to make a cute one for a holiday. That would be kind of fun too.
Thanks everyone for joining us and we will talk to you soon. Bye.”
Hopefully that was helpful!
How else could you customize your classroom computer desktop backgrounds in your room? We would love to hear in a comment below!
Have a wonderful rest of the week everyone!
~Charity


One Comment