Making & Sharing Slide Shows with Google Slides & Animoto
Educational technology has exploded in recent years and what was once a few fun apps, has turned into a huge marketplace of educational resource apps, websites, tools, and equipment. Sometimes it’s hard to know what is really beneficial to learning, or just another distraction.
If you are looking for a fun (and simple) tech solution for communicating with students and parents in your school district, you might want to check out the ideas below for using Animoto from a fellow teacher blogger.
I remember wanting to come up with a fun slideshow for my students at the end of the year when I was first teaching. I downloaded all the pictures from my digital camera on to my classroom desktop with a cord, then I went to napster (oooopsss) for some fun party music. Finally, I manually dropped each image into a Power presentation and used slide transitions to make the images come alive (hello Ken Burns effect).
After I spent HOURS making the final version, complete with a cute title and ender page typed up using Comic Sans font of course, I was able to insert a CD-Rom into the drive and burn one copy. Repeat that process another 20 times so I had one for each student in my classroom.
Of course, I bought some super cute neon transparent CD cases and had to make the paper insert covers, but that was done by typing up something in Microsoft Word and using a paper cutter to size it up so it was a close enough fit.
Whew. It was a task, but the third grade students always loved them, as did their parents who attended the end of the year awards ceremony.
Luckily, times have changed and now with some new alternatives you can include photos AND video clips in those end of the year memories. Imagine the possibilitites!
Plus, with the options shown below, you can even insert a quiz (might be fun for an end of the year activity where students have to test their knowledge of the teacher – haha!), student progress, and grading options too.
Even better that several choices in the tech world are free! No cost = a happy administrator.
I discovered a quick way to take photos of special classroom moments and upload them by using the application Animoto. The Animoto app is also free, but you can only upload up to 12 pictures per slideshow. If you want more, you will have to upgrade.
How do you use Animoto?
So, during the year, whenever students were doing a neat project or it was field trip day or party day, I would whip out my smartphone and take 12 pictures.
Then, when I had a free moment, I went to the Animoto app and created a photo album in just a few seconds (there you have options to add music and/or change the slide design layout).
Once I had a link for the slideshow, I could then share it with parents easily.
In just a few minutes, I was able to share a special memory that we made with my students and their parents!
At the end of the school year, we went through and watched all of the slide shows to reminisce about all the learning and fun times we had shared together.
Here is a screenshot of the video of my little sweetheart that I made in about two minutes.

How else have you used Animoto in your classroom now or in the past? We would love to hear your ideas in the comments below.
Have a great summer!
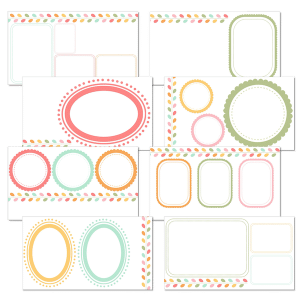
This guest post is from Tabitha and grab your free slideshow templates below.
Making a Google Slideshow to Share with Parents
Prefer old school and looking for something to use with Google Slides instead?
Download these slide templates to your Google Slides account, add your photos and captions on top, and then share the published link from Google Slides with your parents!
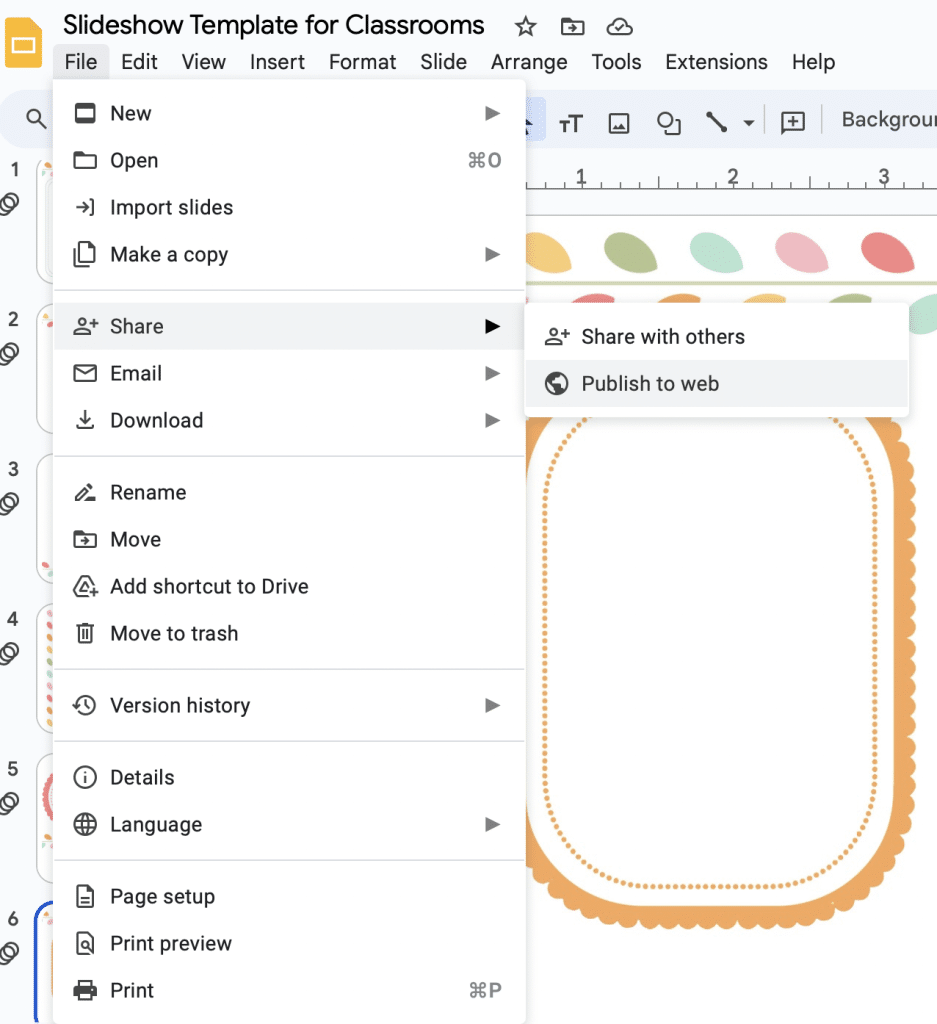
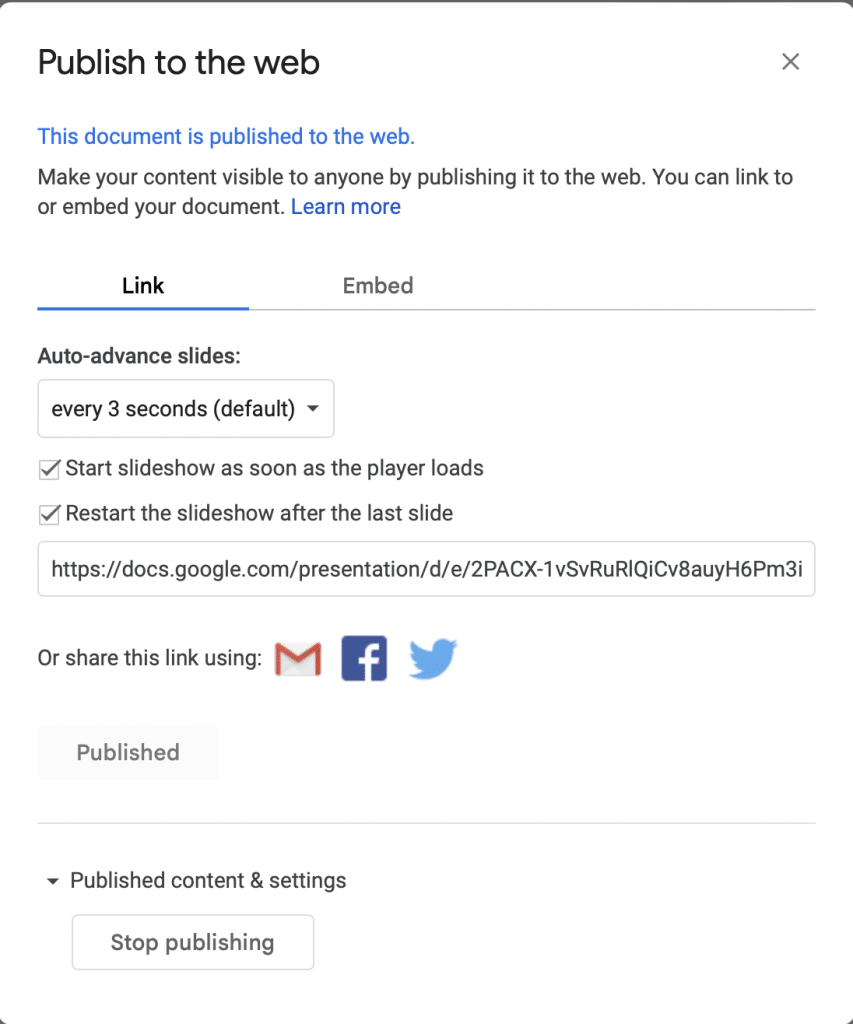
How to create shareable link:
Enjoy!
~Charity