Chalkboard Comprehension Centers
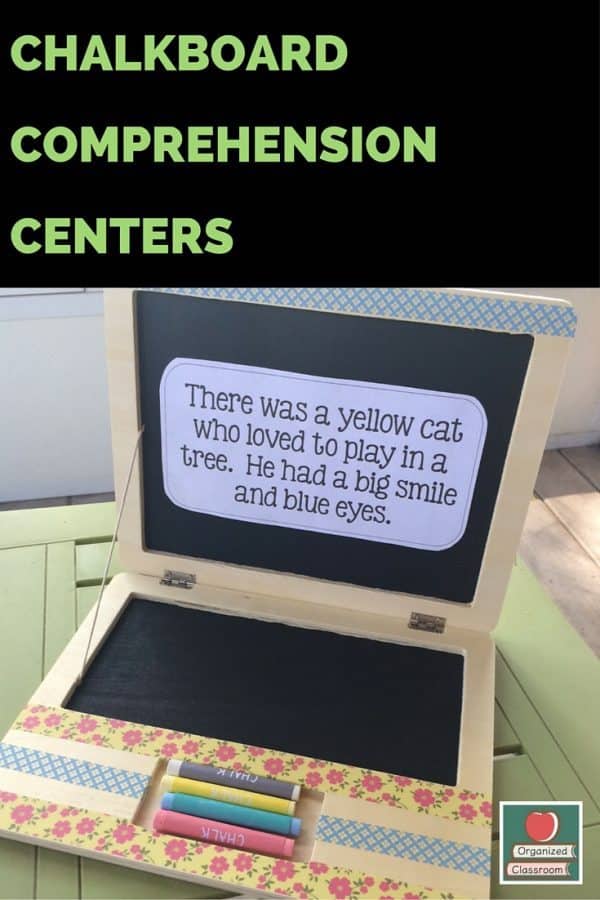
Need a fun and easy comprehension center your students will love to complete? Whether you have these cute mini wood chalkboard laptops, or even instead use vinyl chalkboard or a basic set of chalkboard signs, the idea is the same.
Some weeks coming up with new and novel classroom learning centers is extra hard. Trying to find an activity that students will be interested in completing – and making it relevant to the curriculum – can be a challenge when you’re tired from everything else going on that week.
But there are other times when I see something as I’m out shopping and think to myself how easy it would be to turn a seemingly simple item into a new learning resource that children would love.
Even better when it doesn’t involve a ton of prep work or fancy color graphics or a bunch of cutting out little pieces of paper.
For me, simple and effective is the best combination.
Setting up a Simple Comprehension Center
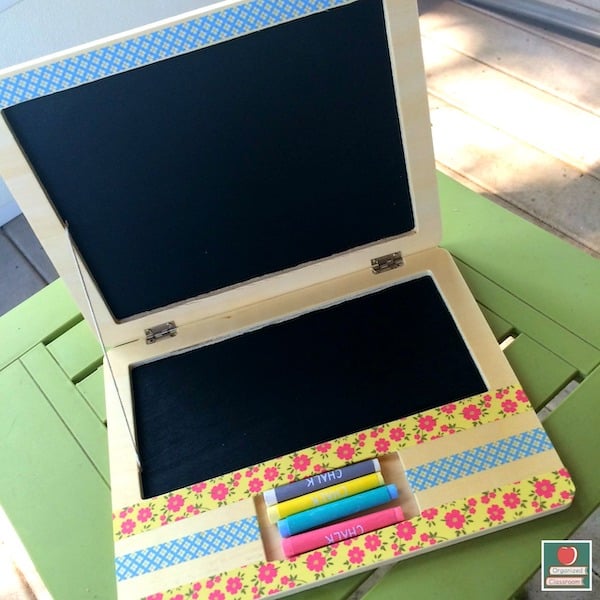
I was at the Target Dollar Spot the other day (big surprise) and I just couldn’t walk away from this adorable chalkboard “laptop” without it jumping into my cart. Seriously. It jumped into my cart.
I swear I had nothing to do with it. So now that it was home, I needed to come up with a fun idea for how to use it in the classroom.

Would you like to know step-by-step routines that put teachers back in control in just 4 weeks?
Download the FREE Classroom Systems Starter Kit now!
First up: washi tape for the decorating win. Anyone that knows me well also knows I am not crafty. Washi tape is a medium I can get behind because it’s easy to change it up if I mess it up. Haha.
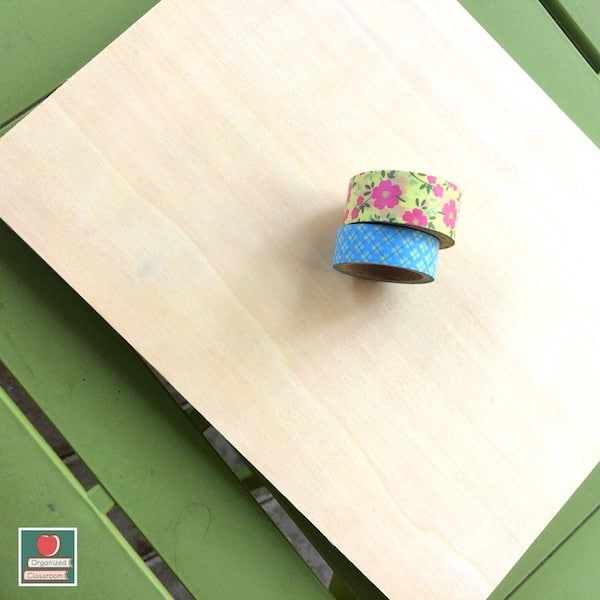
For this project, I picked some pretty yellows for spring, but you could choose tape that matches your classroom theme or school colors. The choice is up to you.
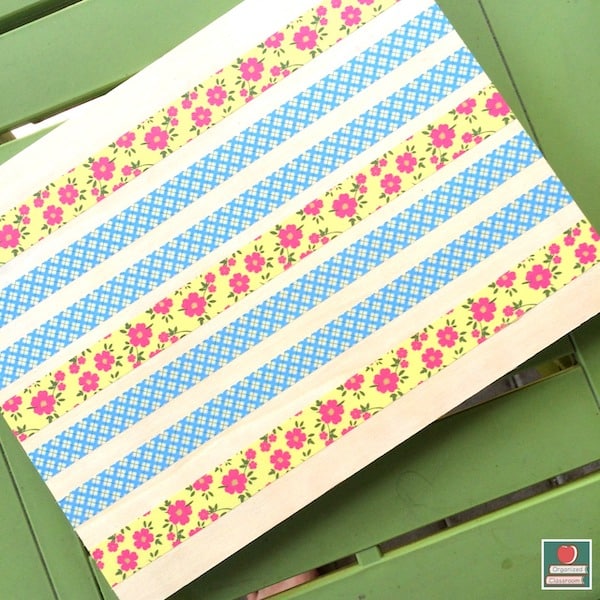
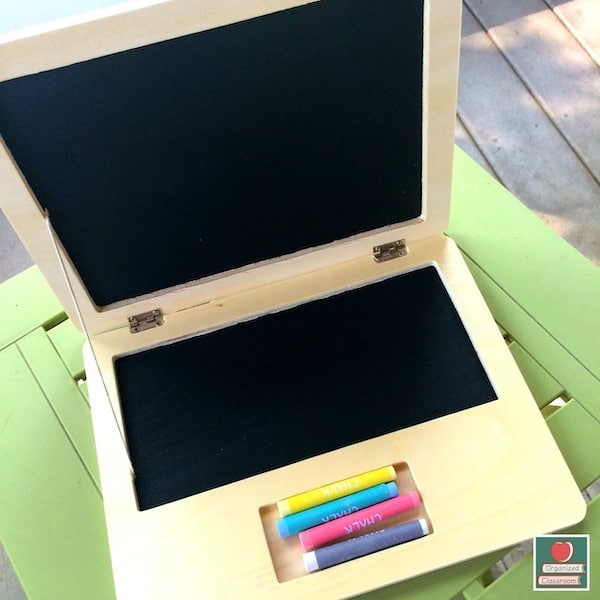
I placed the tape on the “laptop” cover and even inside. Just to dress up the plain wood a little. If you have students that are “pickers” you may want to use some Modge Podge to lock your tape in so they cannot pull it back up.
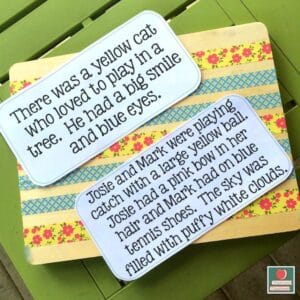
Next, I tossed together a few short comprehension ideas onto a PowerPoint slide, printed, and cut them out. {I didn’t fire up the laminator as the image posted here would have had a nasty glare, but obviously for longer use, you would print on cardstock and laminate.}
The ideas could be differentiated depending on the reading level of your students.
Ideally, there are enough small descriptive words that requires students to read the passage carefully.
Reading and Language Arts Power Pack
11 reading and language arts resource sets that pack a punch!
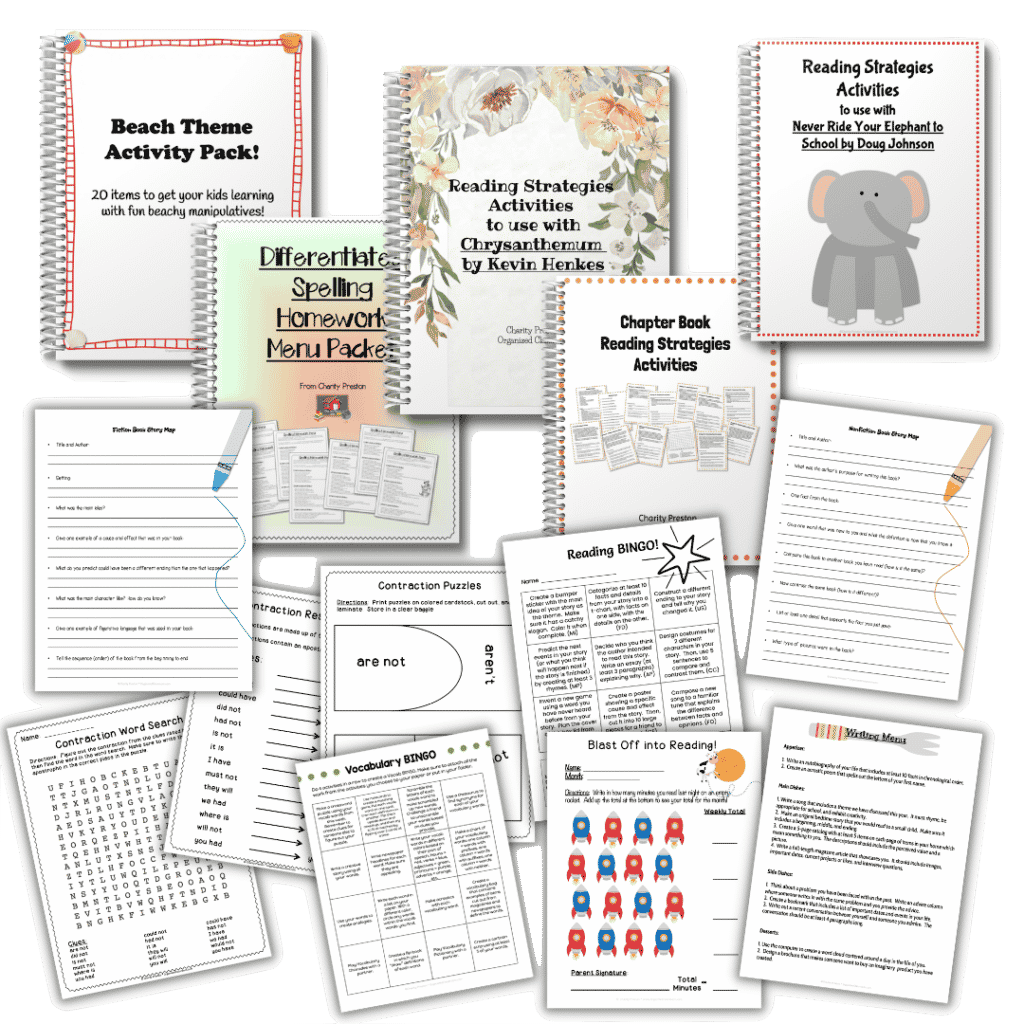
This power pack includes the following 11 files:
- Beach Activities Pack (K-6)
- Chapter Book Reading Strategies Activities (grades 3-8)
- Chrysanthemum Reading Packet (grades 2-4)
- Contraction Packet (grades 1-3)
- DI Spelling Menus Packet (grade 2+)
- Never Ride Your Elephant to School Activities (grades 2-4)
- Reading Bingo (grades 2-8)
- Space Theme Reading Logs (grades 2-5)
- Fiction and Nonfiction Story Maps (grades 2-6)
- Vocabulary Bingo (grades 3+)
- Writing Menu (grades 3+)
See more details HERE.
Last up – the fun begins! I would probably grab about 5 “laptops” and line them up on a long desk for the comprehension center.
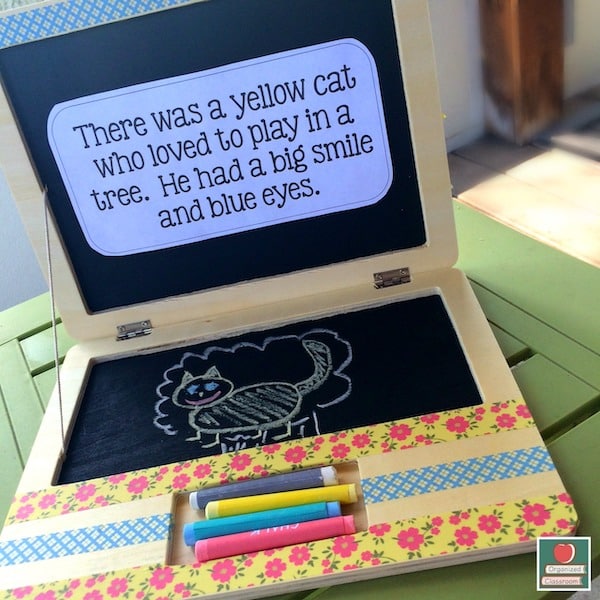
Tape the comprehension passages on the top chalkboard section.
Students read it, then draw a corresponding picture to match.
They could even write their names on the image, close the lid, which would then give you an accountability piece. Or snap an image with a digital camera.
Higher functioning students could even come up with the comprehension pieces for you!
Super fun, easy, and students will love drawing with chalk!
Need the PowerPoint template I used to make your passages? Easy peasy. Click below to download it. I used the font KG Be Still and Know, so if you don’t have that font, just pick another in your files instead.
What else could you use these cute laptops for in the classroom? We love sharing ideas here at Organized Classroom, so leave us a comment below!
~Charity