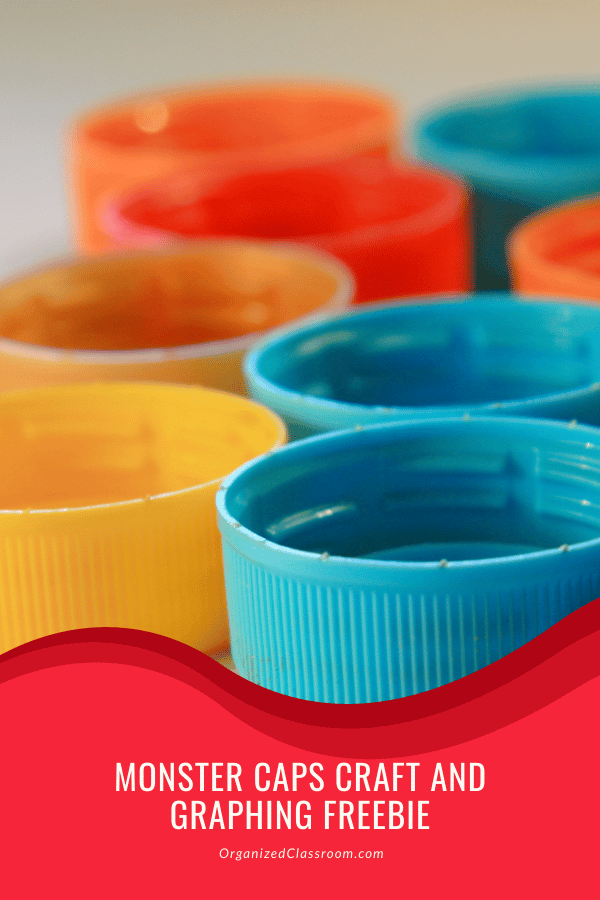
Monster Caps Craft and Graphing Freebie
First of all, I just want to give a big thanks to Charity for allowing me the opportunity to be a guest blogger and to have the chance to share my ideas with a larger audience. ¡Muchas gracias, OC Blog!
Now, let’s get to those cute, little guys! Although I’m a fourth grade teacher, I was determined to make them with my students and turn them into a great learning experience in math.
So, here’s what I did:
1) First of all, no need to reinvent the wheel. Please check out Amanda’s fantastic post on what you need to make these little guys.
2) She explains briefly about how to make them into magnets, but I’ll show you how I did that part. I used krazy clue in the pictures, but I think it’s best to maybe have a parent volunteer do the magnet part the day before with just some form of tacky glue.
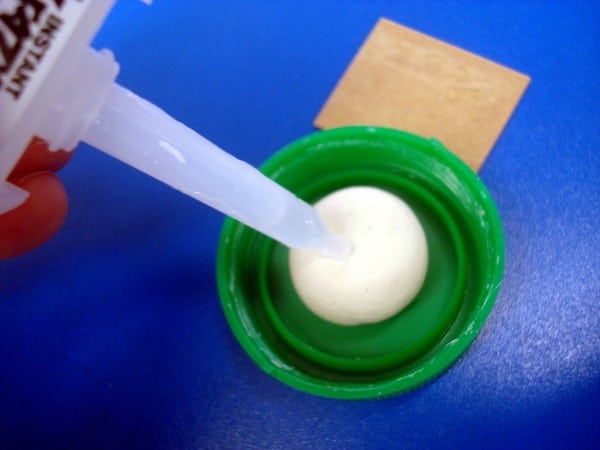
First, I put a small ball of modeling clay inside the middle of the cap and secured with glue (I tried filling the whole cap with modeling clay, but it was too heavy for the magnets to hold.)
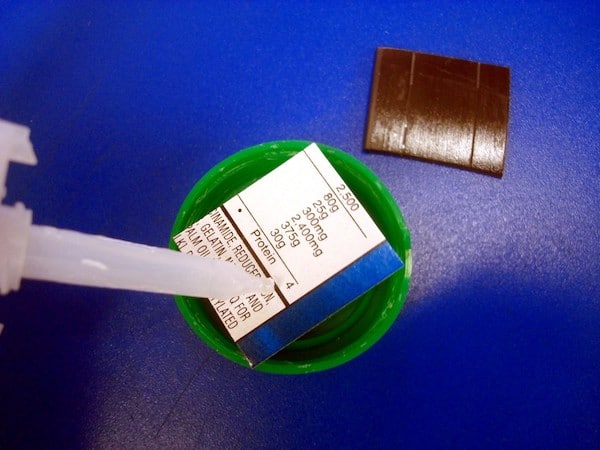
Then, I cut a small cardboard square from a rice treat box and put it on top (necessary? I’m not sure, but that was in Amanda’s instructions.)
Lastly, I glued the magnet on top of the square, and now the caps were ready for the students. (The magnets were cut from 1″ adhesive magnetic strips that I bought at Wally World, also.)
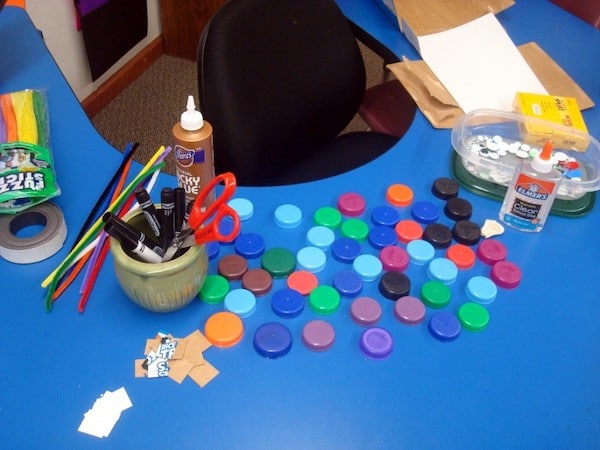
I put all the materials on a work table and had the students come in small groups while the rest worked on independent activities.
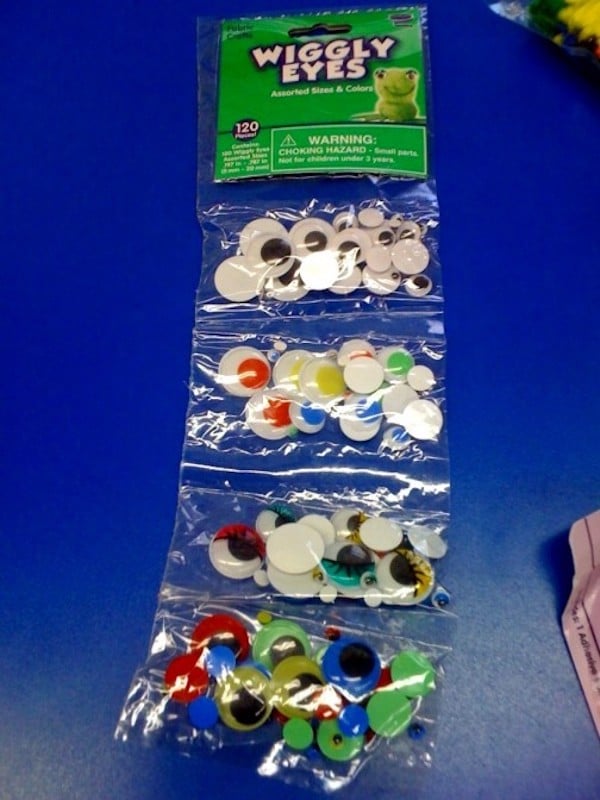
I will tell you, in order to do the graphing freebie I’m attaching with this post, you must have wiggly eyes! That is the crucial step. I purchased these from Walmart, and they have lots of different colors, sizes and designs.
This was more than enough for 37 students.
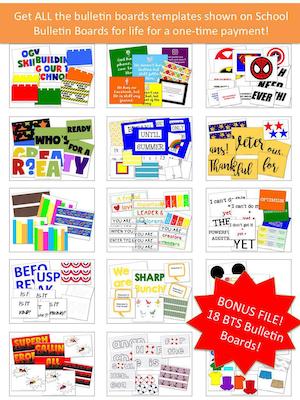
School Bulletin Board Full Site Access
Create your bulletin boards in a snap with premade templates!
Click HERE to see more!
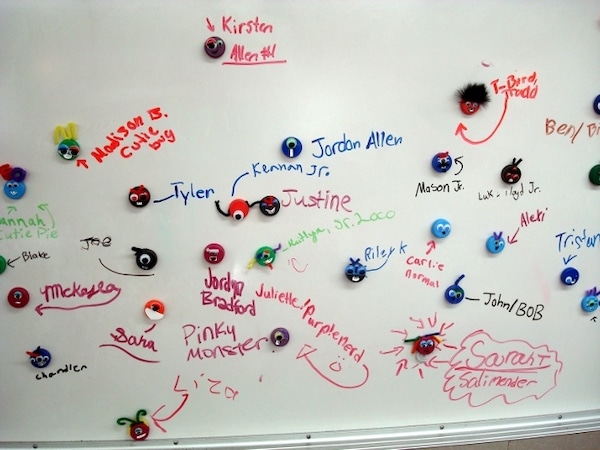
Now, you’ll see in this picture that my students have a lot of gravity-defying hairdos (The monster with the Bruno Mars do was made by a student who actually had that fuzz piece in his book bag for some reason. I love it!).
So, it was a little tiresome, but they would position the chenille stems first, and then I would attach them with hot glue.
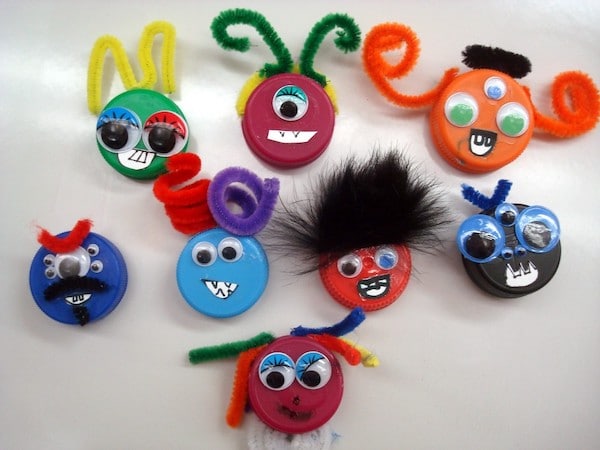
Then, the students stuck them on our whiteboard and wrote their names by their monster. On their own, they started giving their monsters nicknames, which I found very adorable and will now incorporate into a lapbook that we will be doing this week with these little cutie-patoodies.
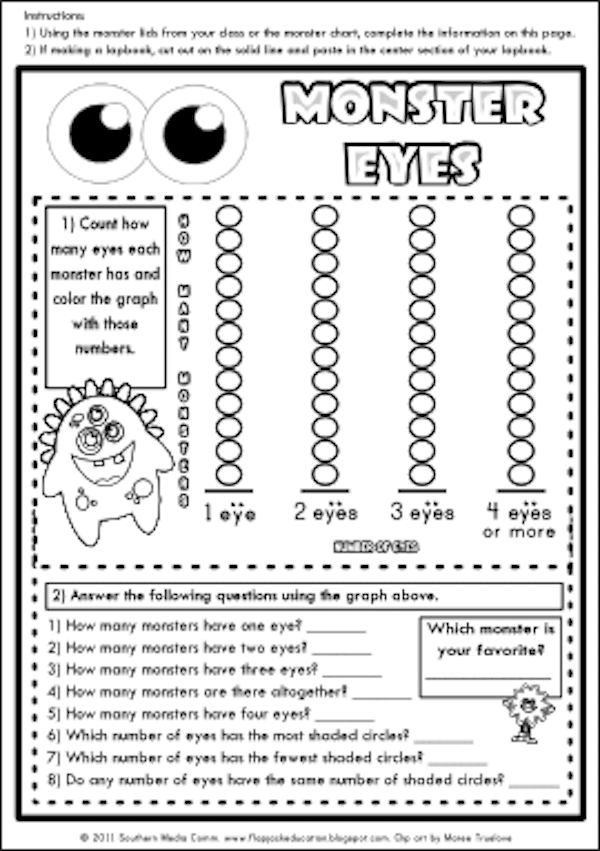
So, finally we can get to the educational piece! This week, my students are going to graph the number of eyes each monster has.
They will first do tally marks, a bar graph, change the scale increments of the bar graph from 1 to 2, and then answer questions about the data from their graph.
I know most teachers who would attempt an activity like this are in the younger grades, so I’ve also created a simpler graphing sheet for them.
And for any dual language teachers, there is a Spanish graph included since that is the language in which I teach.
Click HERE to download the free graphs.
I don’t teach writing, but I’m sure this activity would make for a great creative writing activity, also.
Thanks so much for reading and stopping by the OC blog! Happy Teaching!