
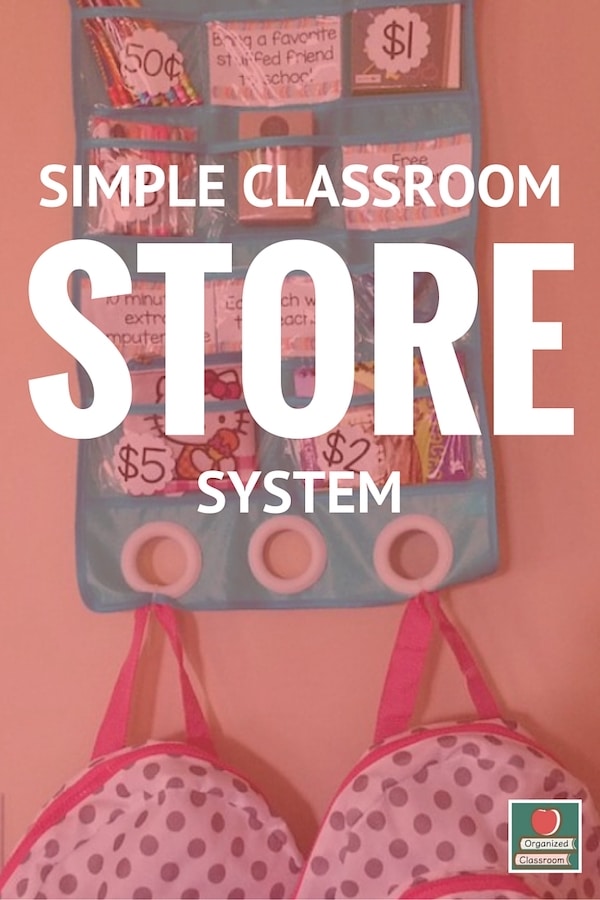
Simple Classroom Store System
Hey teaching friends! I was chatting with my good friend Tami the other day and we were talking about classroom token economy systems and I was explaining to her how I used to run my classroom store with my third graders. So, I have updated my materials a bit and thought I would share the system with you all.
Target has what I need before I even know I need it, right? I know you can relate.
That Target Dollar Spot is basically a vacuum to my wallet!
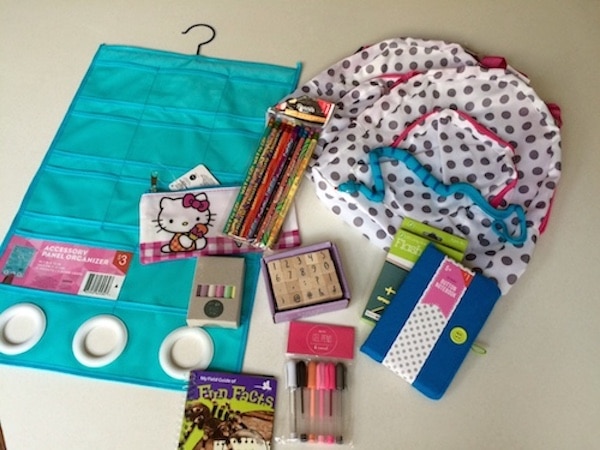
As I was thinking about updating my system, I saw this awesome accessories holder for just $3! You could also use a pocket chart or any other hanging organizer. I personally like this one because it is was the right price.
When I have done this in the past, I actually used the top 2 shelves of a 5-shelf bookshelf behind my desk (you do NOT want easy access in the case of sticky fingers throughout the week).
Either works just as well.
You might want to check out:
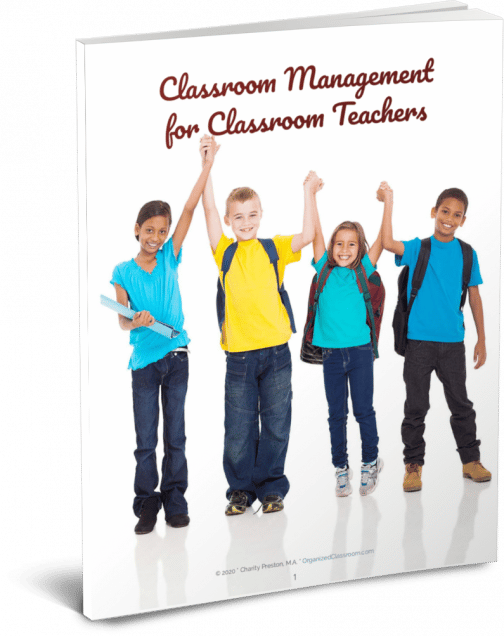
Need some new ideas for classroom management? This 105 page digital book has you covered!
Includes 16 articles from Organized Classroom, including topics such as:
-Tattling
-Using Peer Pressure to Solve Behavior Issues
-Utilizing a Simple Plastic Cup for Your Mgmt Plan
-Creating a Simple Token Economy
-A Character Building Game
-Group Work Mgmt Tips
…and even more!
Now available in our Shop! And the second copy to share with a friend is half price!
I also grabbed several other items from that blasted Dollar Spot to use as prizes.
You do NOT have to buy things for your classroom store by the way. You can always solicit parents for gently used toys. Garage sales are another wonderful place to grab some great trinkets at a cheap price. Even Happy Meal toys or large stuffed animals are perfect!
If you prefer not to give out material items, that is ok too! You can use reward slips for purchase that students can pick from, such as “Eat lunch with the teacher” or “Bring a stuffed friend to school.” Make up your own for rewards that are unique to your classroom – and won’t cost a thing to implement!
Personally for me, I like to do a combination of both prizes and reward slips.
All students will want something different – and having those options makes them earn what they feel is the best for them!
Set up your organizer with the good stuff and I even grabbed a couple small backpacks for a few bucks each in the Dollar Spot and zip tied them to the rings at the bottom to hold any additional prizes to fill the organizer back up after students have shopped on Friday.
Now it’s time to add in your pricing! You will want to have a wide variety of pricing for those students who need that immediate gratification, but also a fewer items that will appeal to the students who would rather save their bucks for a larger prize.
Believe it or not, I always had students who would save all their earnings until the end of the year and spend it all at once. It was a great lesson to others about the value of saving your money.
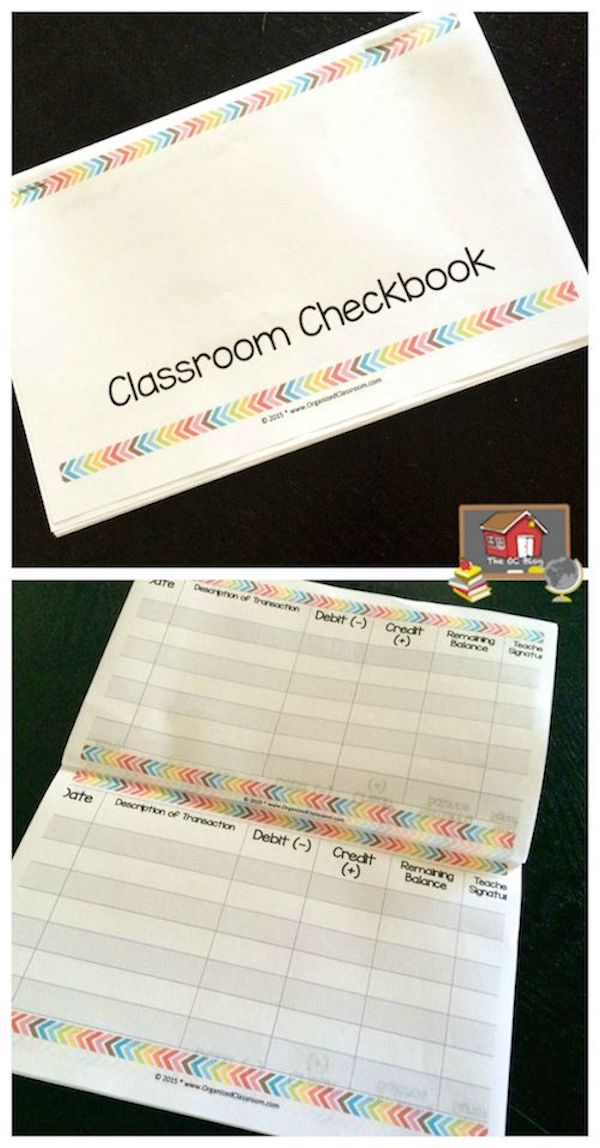
Next, you need to make some “checkbooks” for the students to keep track of their available funds.
In years past, I have actually solicited banks to donate free registers and checkbook covers. They have always had no problem doing so. The students used foam letter stickers to attach to their name to the front of their checkbook cover on Meet the Teacher Night, which was fun and something out of the way.
In my newly updated version, I have created some fun handouts for you to print and staple instead. Students can use markers to decorate their cover with their name.
Now that you have all the supplies ready, this is how it worked in my classroom: Students could earn dollars (or have them taken away) individually, as a team, or as a class.
- Individually:
If a student really worked hard on something or reached a big milestone that was above and beyond his or her usual work, I liked to do random rewards. In this case, I always made a big deal out of it and asked the child to open his or her checkbook and add $_____ {whatever I deemed appropriate}. He then added it in the register and I came over with a pen or marker to initial it as correct – checking for the proper math to get to the correct balance. {See how I threw some math into the mix as well?}
- As a team:
Students were in desk groupings and were given a color. We had a red team, orange team, green team, and so on. At the beginning of the week, the teams ALL started at $5. Throughout the week, if they were the first team sitting quietly, or everyone on the team had homework turned in, etc., that team earned points. I kept the points in the corner of the whiteboard at the top. It was easy to add (or subtract if necessary) easily during the week.
- As a class:
We received $1 for every compliment we received in the hallways while walking to specials or back from lunch. If we were quietly waiting for our turn in the hallway and no one got out of line, they might receive an extra buck there too. Again – super easy to add those dollars upon returning to the classroom on the whiteboard.
NOTE: I RARELY took away points. And no one started the week in the negatives or at zero. I really felt that positive reinforcement and focusing on those students who were already doing that expected behaviors needed to be highlighted. And you will see other students at teams or as a class “peer pressure” the normally “pushing the boundaries” students to stay in line. It was nice to watch them take the lead instead of hearing me constantly asking the same kids to behave over and over again.
How to redeem: On Fridays (you can do any day you like), we would add in our team points from the whiteboard, and I would clear the board so we could start new again on Monday. I would call each team up one at a time to “shop.”
I always chose the team that had the highest amount of points to shop first as a reward for being on top of things. They would have only about 5 minutes – you will have some that WILL fart around – if those students were not done in the allotted time, they waited until the next week. {They tended to figure out their selections way faster the next week – lol.}
They first brought their checkbooks to me and I initialed to make sure their math was correct and they had the right totals. Then they shopped if they wanted.
They subtracted their purchases form their checkbooks right at my desk and I initialed. They put their items in their book bags and went back to their desk to continue silent reading.
I did all groups in the 30 minutes and we were done!
It really wasn’t something that took a ton of time. There were no cards to flip.
A student had to make me pretty mad to have dollars taken away. I won’t say I never did it, but it was pretty serious if I did.
The students, parents, and administrators really enjoyed this classroom management system – as did I!
Would you like to know step-by-step routines that put teachers back in control in just 4 weeks?
Download the FREE Classroom Systems Starter Kit now!
Hopefully this gives you some thoughts for creating your own!
And if you want all these templates and more for classroom management in a specific classroom theme, you can find those Organized Educator.
Just want to use the templates from this post? Grab them here!

Have you used something similar in your classroom before? We would love to hear about it in the comments below!
~Charity

Yesterday was my last day and don’t get me wrong I am going to rest. But I wanted to add a classroom store but I did not want to mess with ‘money’ LOVE THIS!!!!
Hi! I cannot find the link to purchase the download for the student checkbook. Can you help?
Hi Hannah! They are currently only available as part of the Organized Educator sets at this time. Thanks for asking!