Repurpose That Old Filing Cabinet!
Hey teaching friends! I hope everyone is fabulous! I have noticed throughout various media outlets that many teachers are beginning the process of scanning hard files into computers and archiving them that way. While it does take some time, it certainly also takes up far less space in your classroom!
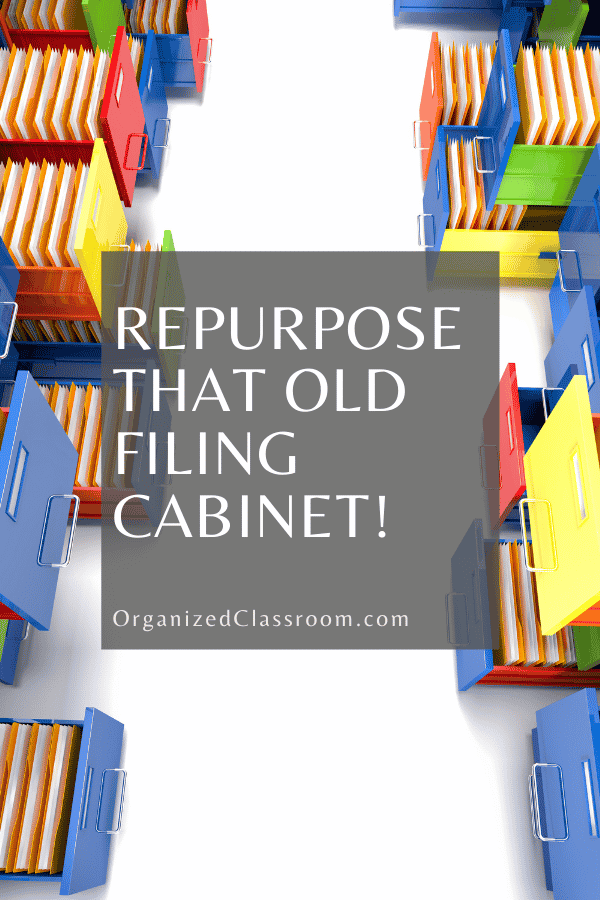
If you are one of those that have decided to go the digital route – what will you do with your now empty filing cabinet?
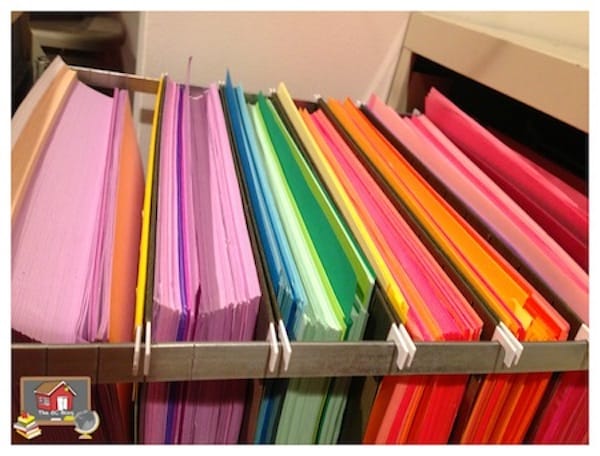
I actually store construction paper and cardstock in mine! I first organize the colors (and if you look closely, I don’t get too particular about which shade of green is next to another shade of green.
I am pretty flexible about it as long as it is in the same file).
You might want to check out:
Need some new ideas for organizing your classroom storage? This 83 page digital book has you covered!
Includes 13 ad-free articles from Organized Classroom, including topics such as:
- Student Cubbies
- File Folder Game Organization
- What to do with old office furniture to maximize your storage
- Ideas for Student Headphone Storage
…and even more!
Now available in our Shop! And the second copy to share with a friend is half price!
Then, I place each color in a separate file folder, then set the file folder in to a hanging folder in the filing cabinet.
It makes it soooo easy to to grab a piece or 50 when needed – just grab the whole file folder out and return when finished!
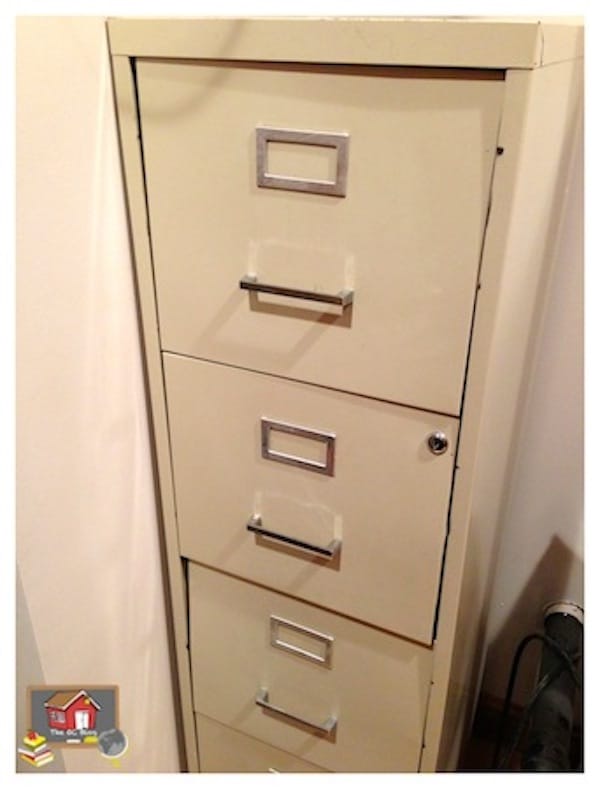
Well, after I organized all the paper and cardstock, I took a good look at this fancy piece of furniture. Yuck!
We actually inherited this fling cabinet from a hospital that was going to toss it because it has a big dent in one side.
Of course, I couldn’t allow a perfectly good (and expensive if new) filing cabinet go to the landfill, so I snatched it up for my home office. The dent now rests nicely along a wall where no one can see.
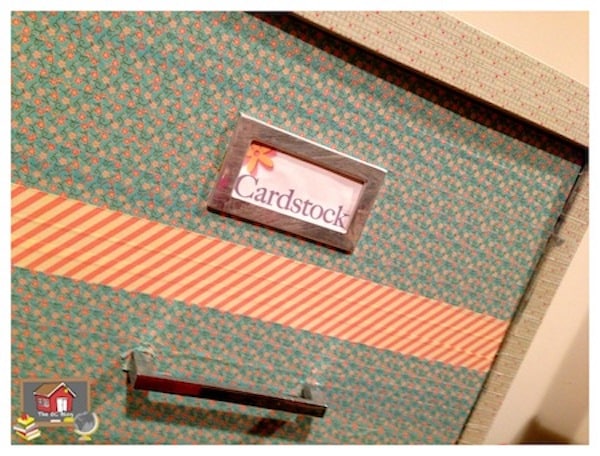
But, I knew it needed a little facelift of some sort, so I grabbed my washi tape and decided to take matters in to my own hands – literally.
I used 2 different tapes to decorate the front panel and then added a fun label.
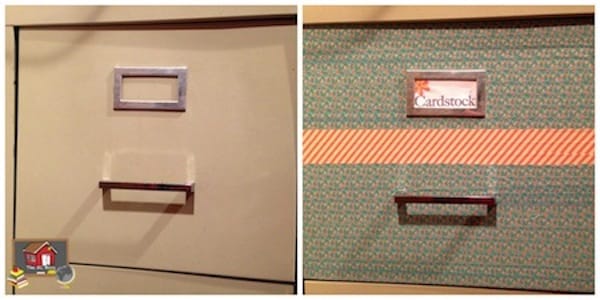
Last, I added a border around the edges.
I am sure many of you are asking about time and budget. Here is the skinny:
Time: Doing the one drawer pictured above took me about 15 minutes total.
Budget: I used about a half a roll of the blue tape which was the majority of the drawer. At $1.99 for one roll of tape, it should cost less than $5 probably to do a whole cabinet depending on how much tape you use.
Would you like to know step-by-step routines that put teachers back in control in just 4 weeks?
Download the FREE Classroom Systems Starter Kit now!
The best part? if I get tired of this color combo or change my office colors completely, the tape can be removed and I can start over! Yay!
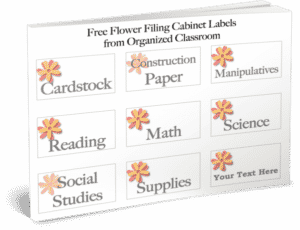
Since I was making the flower labels for the drawers anyway, I threw together a freebie for you to enjoy if they will match whatever project you might be working on as well. They do include a blank template that you can type right onto as well to customize for your needs.
Enjoy and happy organizing!
~Charity